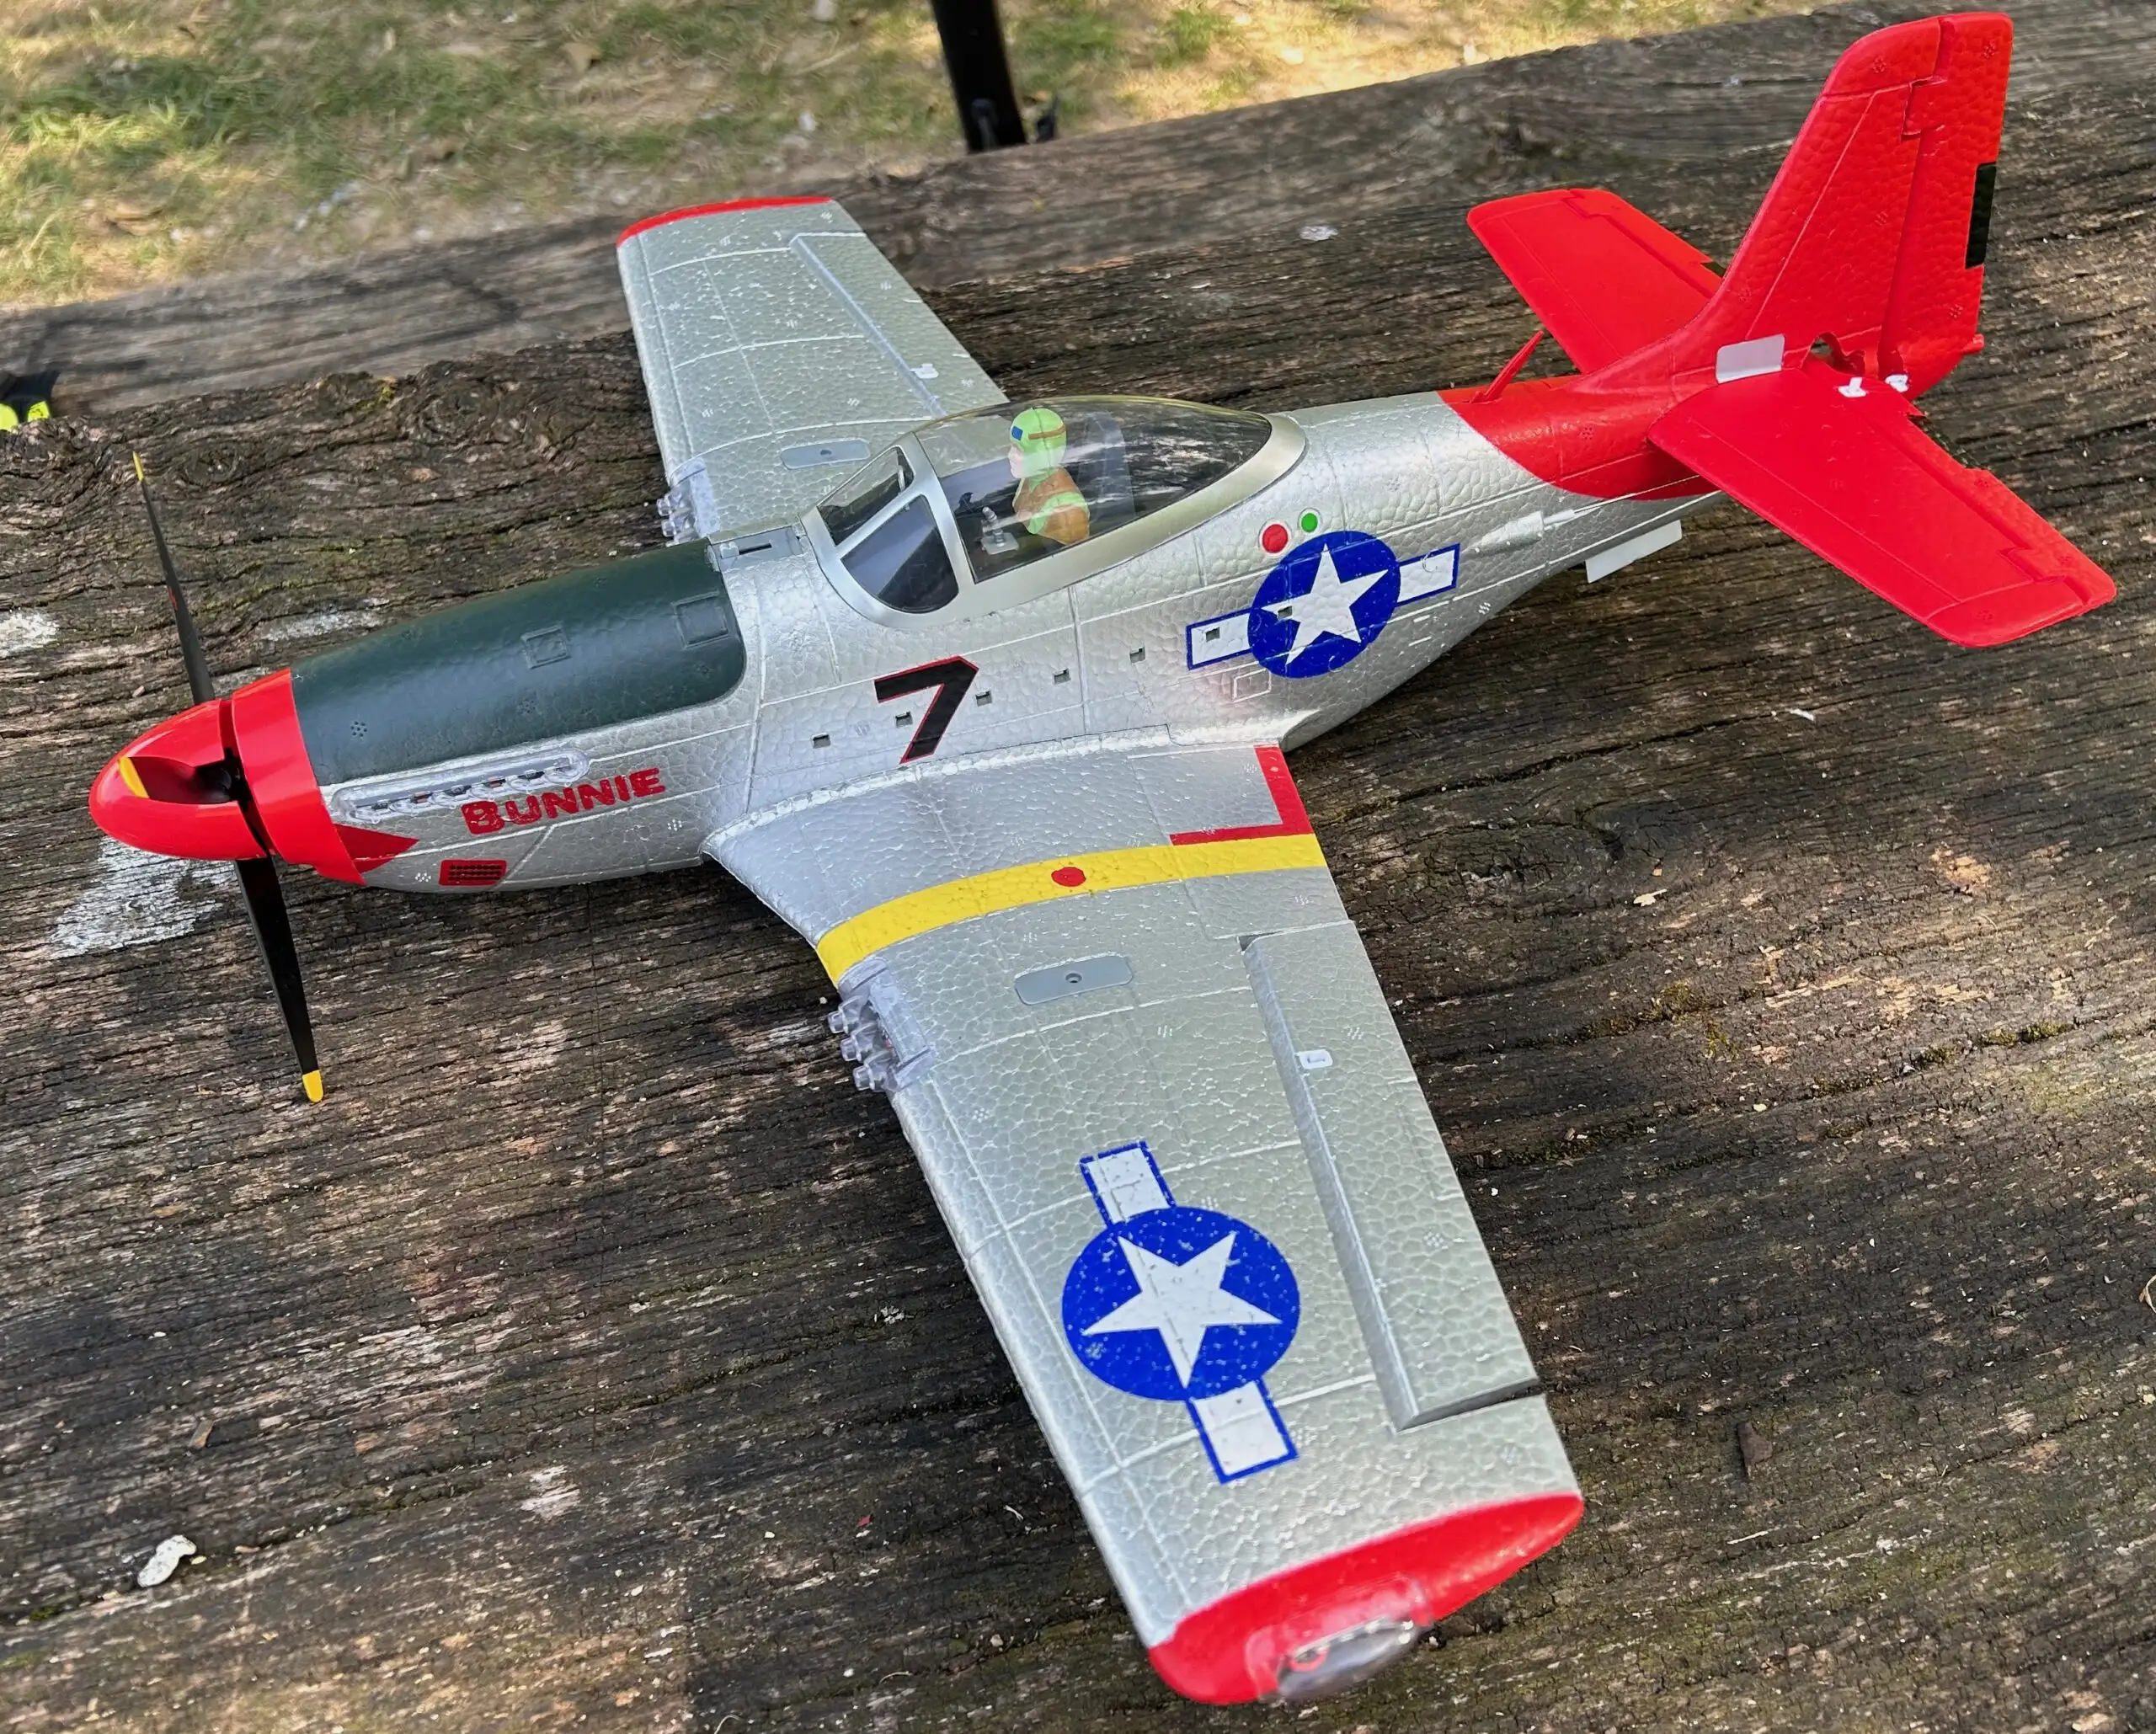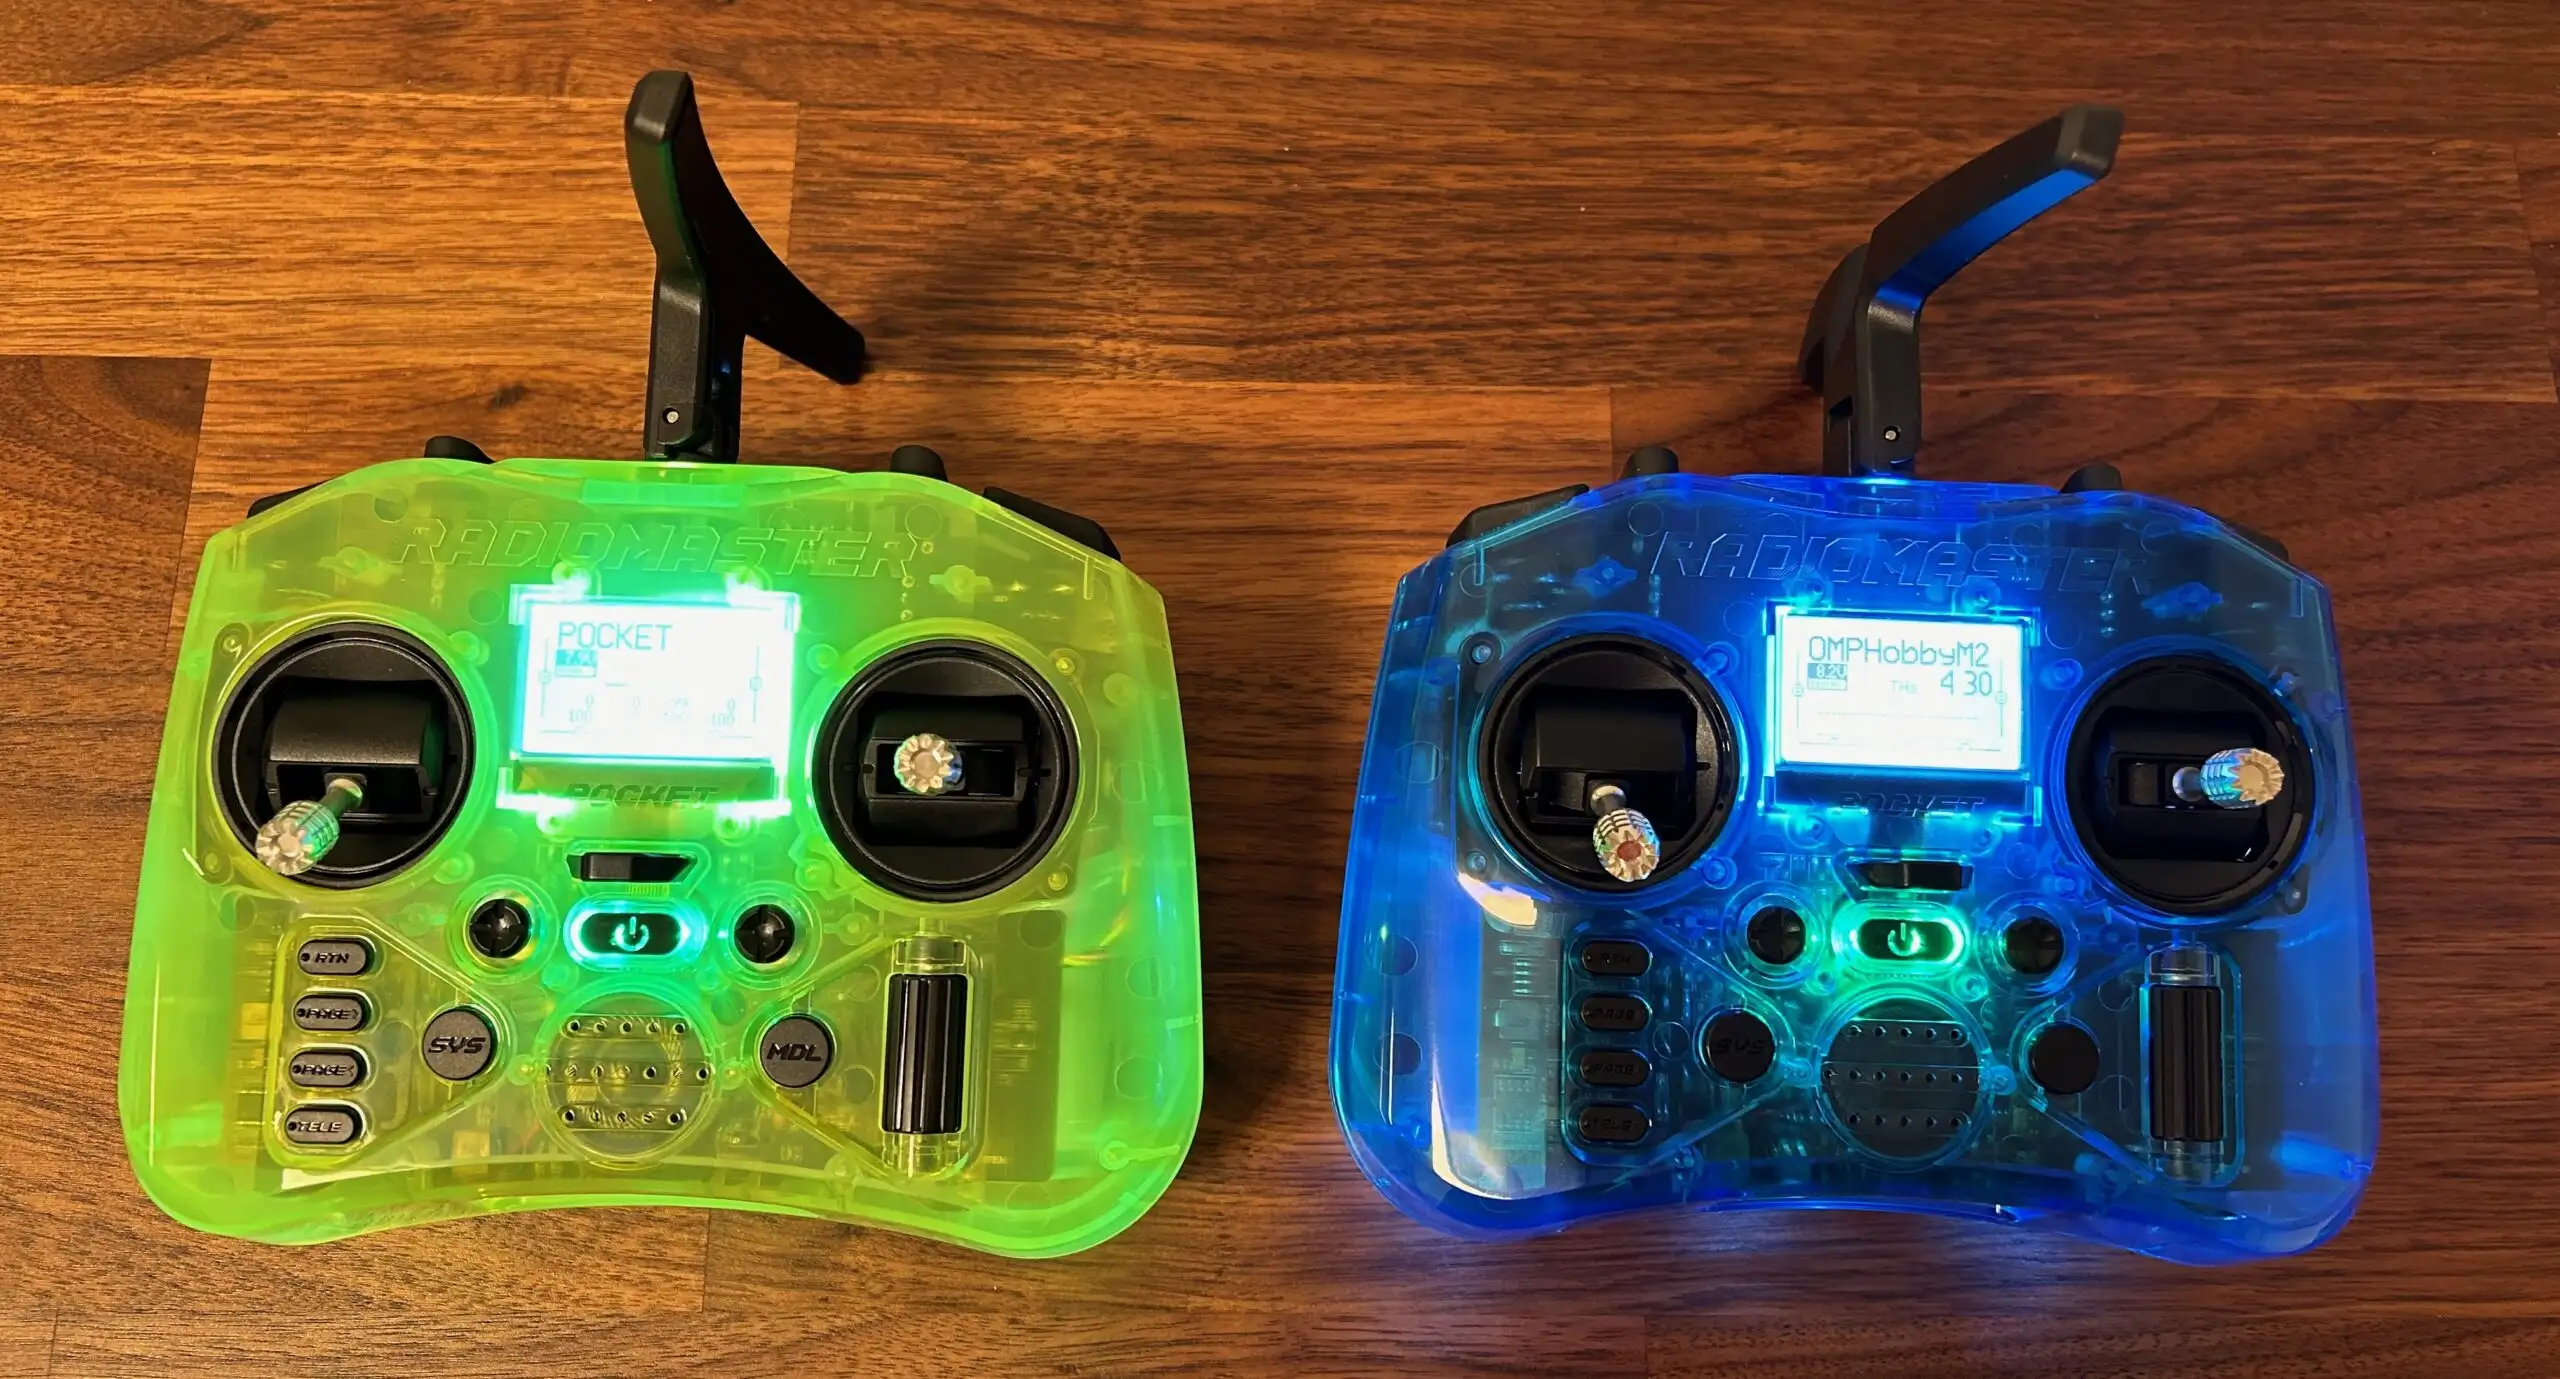
My first venture into RC airplanes is not just a hobby; it is a journey of exploration, learning, and fun. It mark the beginning of an exciting hobby that will continue to bring joy and satisfaction as I ventured further into the world of RC aviation. This is my first airplane 😀
Features
- Adopt impact resistant EPP+engineering materials, P-51 Mustang Fighter high simulation. The rack adopts a quick installation and replacement structure, which is easy to carry.
- The aircraft adopts 6-axis gyroscope, attitude locking, and 3D/6G mode conversion, which is suitable for flight in different scenes, and more suitable for beginners to advance to practice flight. In the air mode conversion, there are both beginner mode and aerobatics mode.
- The blades, motors and wings can be disassembled for easy replacement. Two receiver conversion sockets are added to the flight control system. 5V is applicable to FUTABA (S-BUS) and other receivers with (S-BUS) ports, and 3V is applicable to DSM receivers.
- 1806 strong magnetic brushless motor, super powerful. 2g high-precision digital steering gear, quick response and quick locking.
- The LED light can fly at will even at night, and the remote control can also control the light with one button. High magnification 7.4V 600mAh 25C lithium polymer battery, glide flight time is about 7 minutes.
Why it is a good beginner plane


Durable EPP Foam Material
EPP material performs well in facing strong shock and its good toughness characteristic also helps prevent permanent deformation.3D Gyroscope.
As a total beginner, I landed (understand crashes) in all way, vertically in the ground, hit a tree twice, frontal collision in the tree trunk at full speed. And this planes is really great, it survive up to now all the above.
In worst case, you can glue the EPP with instant glue, it work great.
3D gyroscope
When the plane is flying horizontally in the air, the button switch switches to 3D or advanced mode, and the plane enters 3D stunt mode or advanced mode(3D lock more). Both modes can be used to perform somersaults, rolls, death spirals and other stunts easily.
6G Axis Gyroscope
Six-axis mode increases stability. In many cases, as long as you release the joystick, the aircraft will maintail a smooth flight attitude. The operation is simple, suitable for beginners to fly.
Flight Control System


The flight control adds two receiver conversion socks,5V is suitable for Futaba(S-Bus)J and other receiver with S-Bus ports, 3V is suitable for DSM receivers.
Easy access to electronics
Motor is a 2000Kv

flight controller

Motor, LiPo and ESC
Lots of repair parts on Ali Express
But be prepared to use better component in the long run. The servo are really weak and cheap. Replace them when they fail by better one.
A good deal if you can get it at its lowest price…
Fair price at $80 – $100
Recommended linkage

Mode 2 remote control
Aileron – Channel 1
- 3-Hole Control Horns: Center Hole
- 2-Hole Servo Control Arms: Outermost Hole
Elevator – Channel 2
- 3-Hole Control Horns: Outermost Hole
- 2-Hole Servo Control Arms: Innermost Hole
Throttle – Channel 3
Rudder – Channel 4
- 3-Hole Control Horns: Center Hole
- 2-Hole Servo Control Arms: Outermost Hole
Controller choice 2.4GHz TX
3 flight modes
- “Senior” mode is fully manual only.
- “3D” is wind correction only (akin to AS3X)
- “6G” is Self-levelling with Pitch/Roll Limits.
AS3X (Artificial Stabilization – 3-aXis) technology is a combination of 3-axis sensors and exclusive software that works behind the scenes to smooth out the effects of disruptive forces like turbulence and torque. It doesn’t limit your control or fly the plane for you.
XK default remote controller
The default one is OK, not great but ok for the job. Only this one is able to control the lights and use Senior mode.
Senior mode: takes away the mixing of aileron and rudder and lets you control them independently. But it will not turn on full manual with autolevelling completely off! Basically toggles what ever mode you have on the 6G-3D switch and no gyro. Senior is 3D no assistance no gyro mode. It is an assisted mode like AS3X.

Using your own EdgeTX remote
You can use your own remote control, as long as it has a multi protocol internal or external multi protocol module!
With a recent version of the Multi Module Firmware (1.3.3.7 or later) and using the V911S/E119 protocol, channel 7 should switch between 6G/3D and channel 6 should give you Rates. “Senior” is apparently not available yet.
V911S/E119 protocol
For the one interested in the technical details, XK-A-280 use the V911S/E119 protocol, details are here https://github.com/pascallanger/DIY-…tocol-e119—1 Latest GitHub data Sub_protocol E119 – 1 Models: Eachine E119, JJRC W01-J3, XK A220 P-40, XK A800 R2, F959S R2, A160 R2, A280 CH1 CH2 CH3 CH4 CH5 CH6 CH7 A E T R CALIB RATE 6G_3D
Radiomaster multi protocol update
Flash your Radiomaster firmware to the latest multi protocol version by visiting https://downloads.multi-module.org (Attention this won’t work on the Zorro ELRS only version)
- Copy mm-stm-serial-aetr-v1.3.3.20.bin to SdCard firmware folder
- Unpack MultiLuaScripts.zip to SdCard
- Copy multi.txt to root level of SdCard
- Use system menu to flash the firmware
EdgeTX configuration
Create a new model and select V911S for the protocol and the sub type E119
Channel 5 (Calib): -100% normal mode, +100% gyro calibration
Channel 6 (Rates): takes any value between -50..+50%: -50%=min rates, 0%=mid rates (stock setting), +50%=max rates
Channel 7 (6G/3D) has to be assigned to a switch between 3D lock mode or 6G stabilised self level attitude mode. In both modes there is mixing of aileron and rudder, it is not possible to operate only aileron; it is possible to operate only rudder
EdgeTX P51-XKA280.yml file you can import (mode 2) for the Radiomaster Zorro
What break easily
The servo are crap, one servo wad dead and defect immediately after unpacking! they will fail fast so be prepared.
Tips and Tricks
To improve airflow. put adhesive back vinyl patches over the bomb hanger holes and the servos.
With stock prop the ship isn’t very responsive and seems lacking in speed. Use a 7*5 prop instead.
Convert the stock transmitter between mode 1 and mode 2
To convert the stock transmitter between mode 1 and mode 2 you MUST perform 2 operations.
The first is to take the back off the radio, unscrew the 4 screws holding down each control pot set, pull them out, rotate them BOTH 180 degrees (ie UPSIDE DOWN TO HOW THEY WERE SITTING BEFORE YOU TOOK THEM OUT!) and place them in the opposite side hole. Replace the screws after plugging the wires from each potentiometer WHERE SHOWN IN BOTH THE MANUAL AND MH’S PHOTO. Then replace the back of the transmitter.
NOW BEFORE YOU CAN USE IT you MUST hold the lower right trim switch hard to the left and turn the transmitter on! YOU CANNOT USE IT TO CONTROL THE PLANE CORRECTLY UNTIL YOU HAVE DONE THIS! This last process tells the transmitter which stick controls which surface (and throttle) AND which way the sticks should move the surfaces and turn on/off the throttle.
Improved English manual (Work in progress)
The original manual is absolutely terrible even for a non native English speaker. You can read the improved version below (XK feel free to use that version instead)
A280 ground takeoff skills
Position the aircraft on stable terrain, ensuring it is oriented into the wind, with the remote control activated in 6-axis mode.
Gradually pull the elevator joystick downward while slowly reducing the throttle to a 10% position. During this phase, the aircraft will accelerate forward until it lifts off the ground while maintaining an upward pitch attitude. Once the aircraft reaches an altitude of 10 meters, gently release the elevator control.
When the joystick is released, the aircraft’s nose may momentarily dip downward for less than one second due to inertia, resulting in a slight nose-heavy sensation. This is a consequence of the aircraft’s inherent inertia. The onboard gyroscope will promptly engage to reestablish a stable flight attitude.
The A280 receiver employs the GFSK communication mode and includes two receiver conversion sockets. For receivers like FUTABA (S-BUS) and others with (S-BUS) ports, a 5V supply is appropriate, while DSM receivers are suitable for 3V operation. For alternative remote controls to manage the aircraft via conversion, users must initially configure the 5th channel switch position in accordance with their specific flight requirements. This switch enables a shift between the 3D lock mode and the 6G attitude mode. It is crucial to avoid incorrect placement to prevent damage to the receiving board due to voltage misalignment. The control modes of Light switch and 6G/SENIOR are exclusive to the standard remote control for adjustment.
Safety precautions
When operating remote control model airplanes, which are considered hazardous goods, it’s imperative to maintain a safe distance from bystanders during flight. Assembling errors, mechanical damage caused by human factors, inadequate control of electronic components, and inexperienced handling can all result in uncontrolled flights and unforeseen injuries. Please prioritize safe flying practices and take responsibility for any accidents that may arise from your own negligence.
This product is designed for outdoor use under wind conditions of Grade 4 or lower. When flying model aircraft, ensure you choose a suitable outdoor location free from obstructions and maintain a safe distance from people and pets. Avoid operating in hazardous environments such as near heat sources, wires, or power supplies to prevent potential accidents like collisions, landings, entanglements, and the risk of fire, electric shock, or other dangers that could result in loss of life or property damage.
Ensure that you correctly align the positive and negative terminals, and avoid mixing old and new batteries to prevent any adverse impact on battery lifespan. If you plan not to use the batteries for an extended period, it is advisable to remove them to prevent potential liquid leakage or malfunctions. If a battery leaks, discontinue its use immediately.
When disposing of electronic devices, please adhere to your country or regional Waste Disposal regulations for recycling. Refrain from discarding them in a way that could harm the environment to prevent pollution.
A LiPo battery carries higher risks compared to other battery types. Prior to usage, it is essential to carefully review the following precautions and adhere to them during battery operation. The company cannot be held responsible for any damages resulting from improper use.
- Only employ the original charger for charging to prevent the risk of explosions and fires.
- Avoid actions like crashing, disassembling, reversing polarity, or subjecting the battery to heat, as these can lead to short circuits. Prevent any metallic objects from coming into contact with both the positive and negative terminals of the battery. Also, take measures to shield the battery from sharp objects that could puncture it and cause fire hazards.
- During the charging process, maintain constant vigilance to ensure that it takes place under your supervision. Keep the battery out of the reach of children to prevent potential hazards.
- Cease charging if the battery becomes hot; failure to do so could result in swelling, deformation, or even combustion, posing serious risks to life and property safety.
- Dispose of used batteries in strict accordance with your country’s Waste Disposal regulations to prevent environmental pollution.
Please note that failing to observe these precautions can lead to hazardous situations, and the company bears no responsibility for such incidents.

