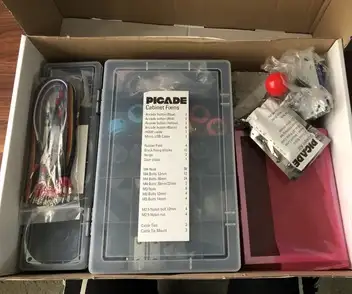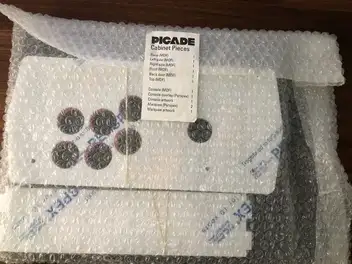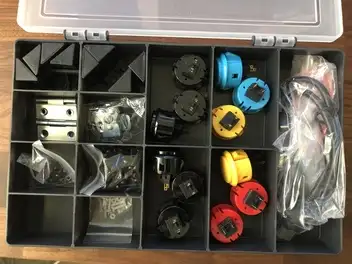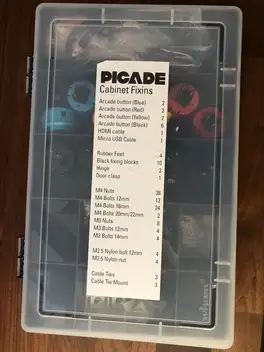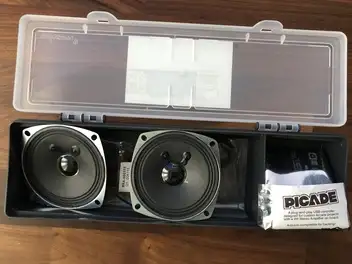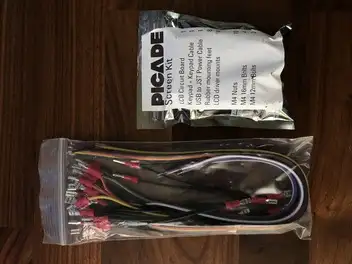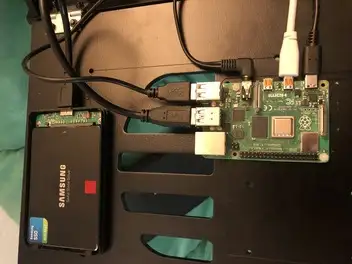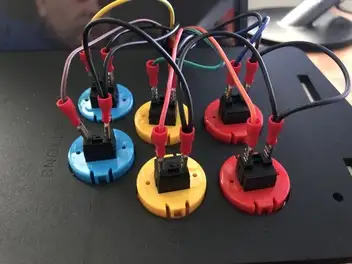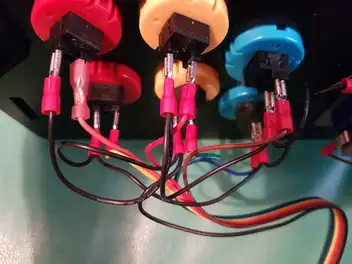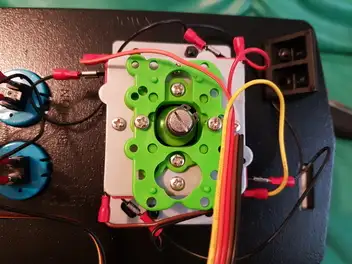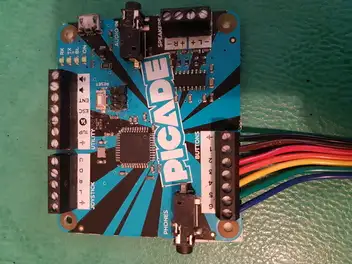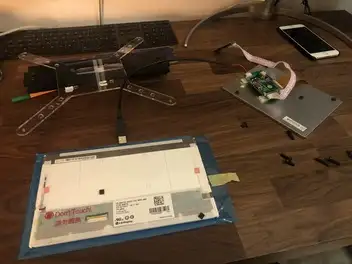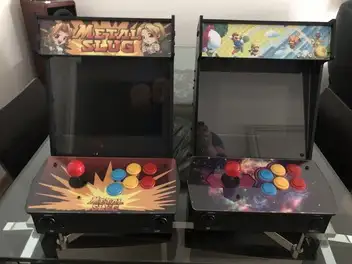
Picade is a Raspberry Pi-powered mini arcade that you build yourself, with authentic arcade controls, a high resolution 4:3 display that ’s ideal for retro gaming, and a punchy speaker to hear those 8-bit game soundtracks at their best.
The ultimate desktop retro arcade machine! Picade is a Raspberry Pi-powered mini arcade that you build yourself, with authentic arcade controls, a high resolution 4:3 display that ’s ideal for retro gaming, and a punchy speaker to hear those 8-bit game soundtracks at their best
Electronic
Upgrading your Picade 8” to 10”
Total cost of upgrade: 37$ and a bit of time
Parts to order:
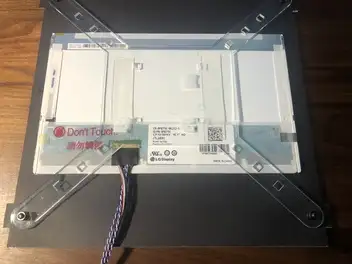
The new Screen, a 10.1 inch 1366*768 LCD Screen Display TFT Monitor for Raspberry Pi 3 / 2 Model B from AliExpress
This 10.1 inch High-resolution 1366*768 LCD display module kit is especially designed as a monitor for Raspberry Pi 3 / 2 Model B and Raspberry Pi B+ B A+. For use with a Raspberry Pi we suggest editing config.txt to set the HDMI to the native 1366×768 in case it doesn ’t detect the resolution properly. The easiest way to edit the config.txt is to put the Pi TF card into an every day computer and edit config.txt with any text editor and save.
Features:
- Screen Dimensions: 229mm x 127mm / 9.0″ x 5.0″
- Panel Type: a-Si TFT-LCD Panel
- Panel Size: 10.1″
- Resolution (RGB): 1366×768, WXGA
- Brightness: 200cd/m2
- Contrast Ratio: 800:1 (Min.)
- Display Colors (16bit): 65K
- Response Time (Tr+Td): 30
- Viewing Angle (CR>10): 85/85/85/85
- Operating voltage: 12V (current requirement 1A-2A)
- Rated power: 6-7W
- Signal input: AV + VGA + HDMI (HDMI 1.2)
- Resolution: 1366* 768,
- Plug and Play: Support
- OSD language: Simplified Chinese, Traditional Chinese, English, Japanese, Korean, Spanish, French, German, Italian, Portuguese
- Control: Multifunction OSD operation or potentiometer adjust the brightness and color
Specifications:
- Screen size: 10.1 inch
- Touch screen: Not support
- Screen Dimensions: 229mm x 127mm / 9.0″ x 5.0″
- Panel Type: a-Si TFT-LCD Panel
- Panel Size: 10.1″
- Resolution (RGB): 1366×768, WXGA
- Display Mode: HFFS, Normally Black, Transmissive
- Surface: Hard coating
- Brightness: 200cd/m2
- Contrast Ratio: 800:1 (Min.)
- Display Colors (16bit): 65K
- 1× HDMI+VGA+2AV LCD Controller Board
- 1× 10.1 inch 1366×768 LCD Screen
- 1× LVDS Cable
- 1× Keyboard with Wire
A 12V power supply
Get any 12V / 2A power supply
1. Mounting the new screen
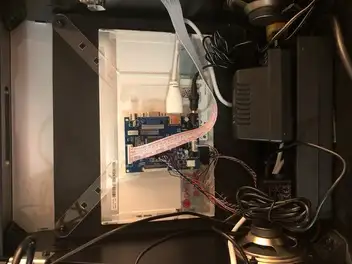
Just disassemble the Picade, removing the old screen. You will have to cut the cardboard to the new screen size. It is not difficult, just take your time to cut properly the cardboard.
2. Preparing Retropie
Raspberry Pi 3
Just plug and boot Retropie, nothing particular to configure. The Raspberry Pi 3B+/3B do not require any modification to /boot/config.txt
Raspberry Pi 4
The Raspberry PI 4 is not able to detect the screen properly, so you ’ll have to help the operating system a bit. You need to modify /boot/config.txt file and add the following parameters, otherwise, you may only run as 1024×600 model:
# Please note that this number is 1360 but not 1366

framebuffer_height=768
hdmi_force_hotplug=1
hdmi_group=2
hdmi_mode=87
hdmi_cvt 1360 768 60 3 0 0 0

#Please note that this number is 1360 but not 1366
config_hdmi_boost=4
dtparam=i2c_arm=on
dtparam=audio=on

[pi4]
dtoverlay=vc4-fkms-v3d
max_framebuffers=2

[all]
dtoverlay=vc4-fkms-v3d
start_x=1
gpu_mem=128
How to install RecallBox on Picade
RecallBox use Arch Linux and the Picade driver ONLY support Raspbian , so it is not possible to run RecallBox on the PiCade
How to install Retropie software on Picade
Download Retropie 4.5.1 and burn it using Balena Etcher to a 16GB SDCard, insert and Boot the Raspberry PI
Connect a USB keyboard and press F4, to see the linux shell
Go into the config, sudo raspi-config and set at least the following
- Under localization options, the proper keyboard layout (german swiss for me)
- Under Interfacing option, activate SSH (Optional useful to connect to Pi to launch command without physical access with a keyboard )
- Under Advance option, set the Audio to “3.5 headphone jack”
- Under Network set the WIFI SSID and password (Optional you can also use the Ethernet port)
Quit Raspi-config
Install the driver
curl https://get.pimoroni.com/picadehat | bash
And latest firmware
curl https://get.pimoroni.com/picadefw | bash
ATTENTION do not update raspbian with apt update/upgrade this will break RETROPIE
Reboot one more time with
sudo reboot
And everything should work!
Still no sound? Contact me i have a ready 16GB .img file that just work.!
Running Games in Retropie
DO not use an expensive and big SDCard to store your games, 128Gb or 256GB card are expensive and wont support extensive read and write. It is a lot better, cheaper and faster to use a small SSD of that size connected to the USB port.
Connect an Empty USB disk, not formatted, and wait till Retropie write the folder structure on it, stop Retropie . Now connect the disk to Linux, Windows, MacOS and copy games on that disk in the proper folder. Next time you boot Retropie with that disk attached, Retropie will list all games.
Troubleshooting
I hear no Sound in Retropie
I lost many HOURS, going crazy, and after many attempts (erase sdcard, and redo 5 times) I have collected a fair amount of methodology to narrow down the problem:
Hardware
- Check physical wiring connections: nothing must be loose
- Check proper red/black (+/-) connections in case they were backwards
- Power the PI and connect a Phone to the jack to check proper output of music -> this validate the whole hardware connection
Software
- While in Retropie , press F4, then type “sudo raspi-config”, under “Advanced options”, then “Audio”, set the sound to " 3.5 headphone jack"
- In emulation station, under sound settings audio device MUST be PCM (default), no need to restart
- In Retropie , under audio configuration, must be set to “3.5 headphone jack”, you need to restart system.
- Emulation Station volume may be low, use the “volume up” button multiple time (Black button on the left side, back button)
Still no sound? Contact me i have a ready 16GB .img file that just work.!
Mount everything back
References
Here are the keys associated with the buttons (if you haven’t modified a firmware to accommodate custom keycodes):
- button 1 – keycode 29 – L CTRL
- button 2 – keycode 56 – L ALT
- button 3 – keycode 57 – SPACE
- button 4 – keycode 42 – L SHIFT
- button 5 – keycode 44 – Z
- button 6 – keycode 45 – X
- L – keycode 105 – Left
- R – keycode 106 – Right
- D – keycode 108 – Down
- U – keycode 103 – Up
- 1UP – keycode 31 – S
- 1/4 – keycode 46 – C
- ESC – keycode 1 – ESC
- ENT – keycode 28 – ENTER
