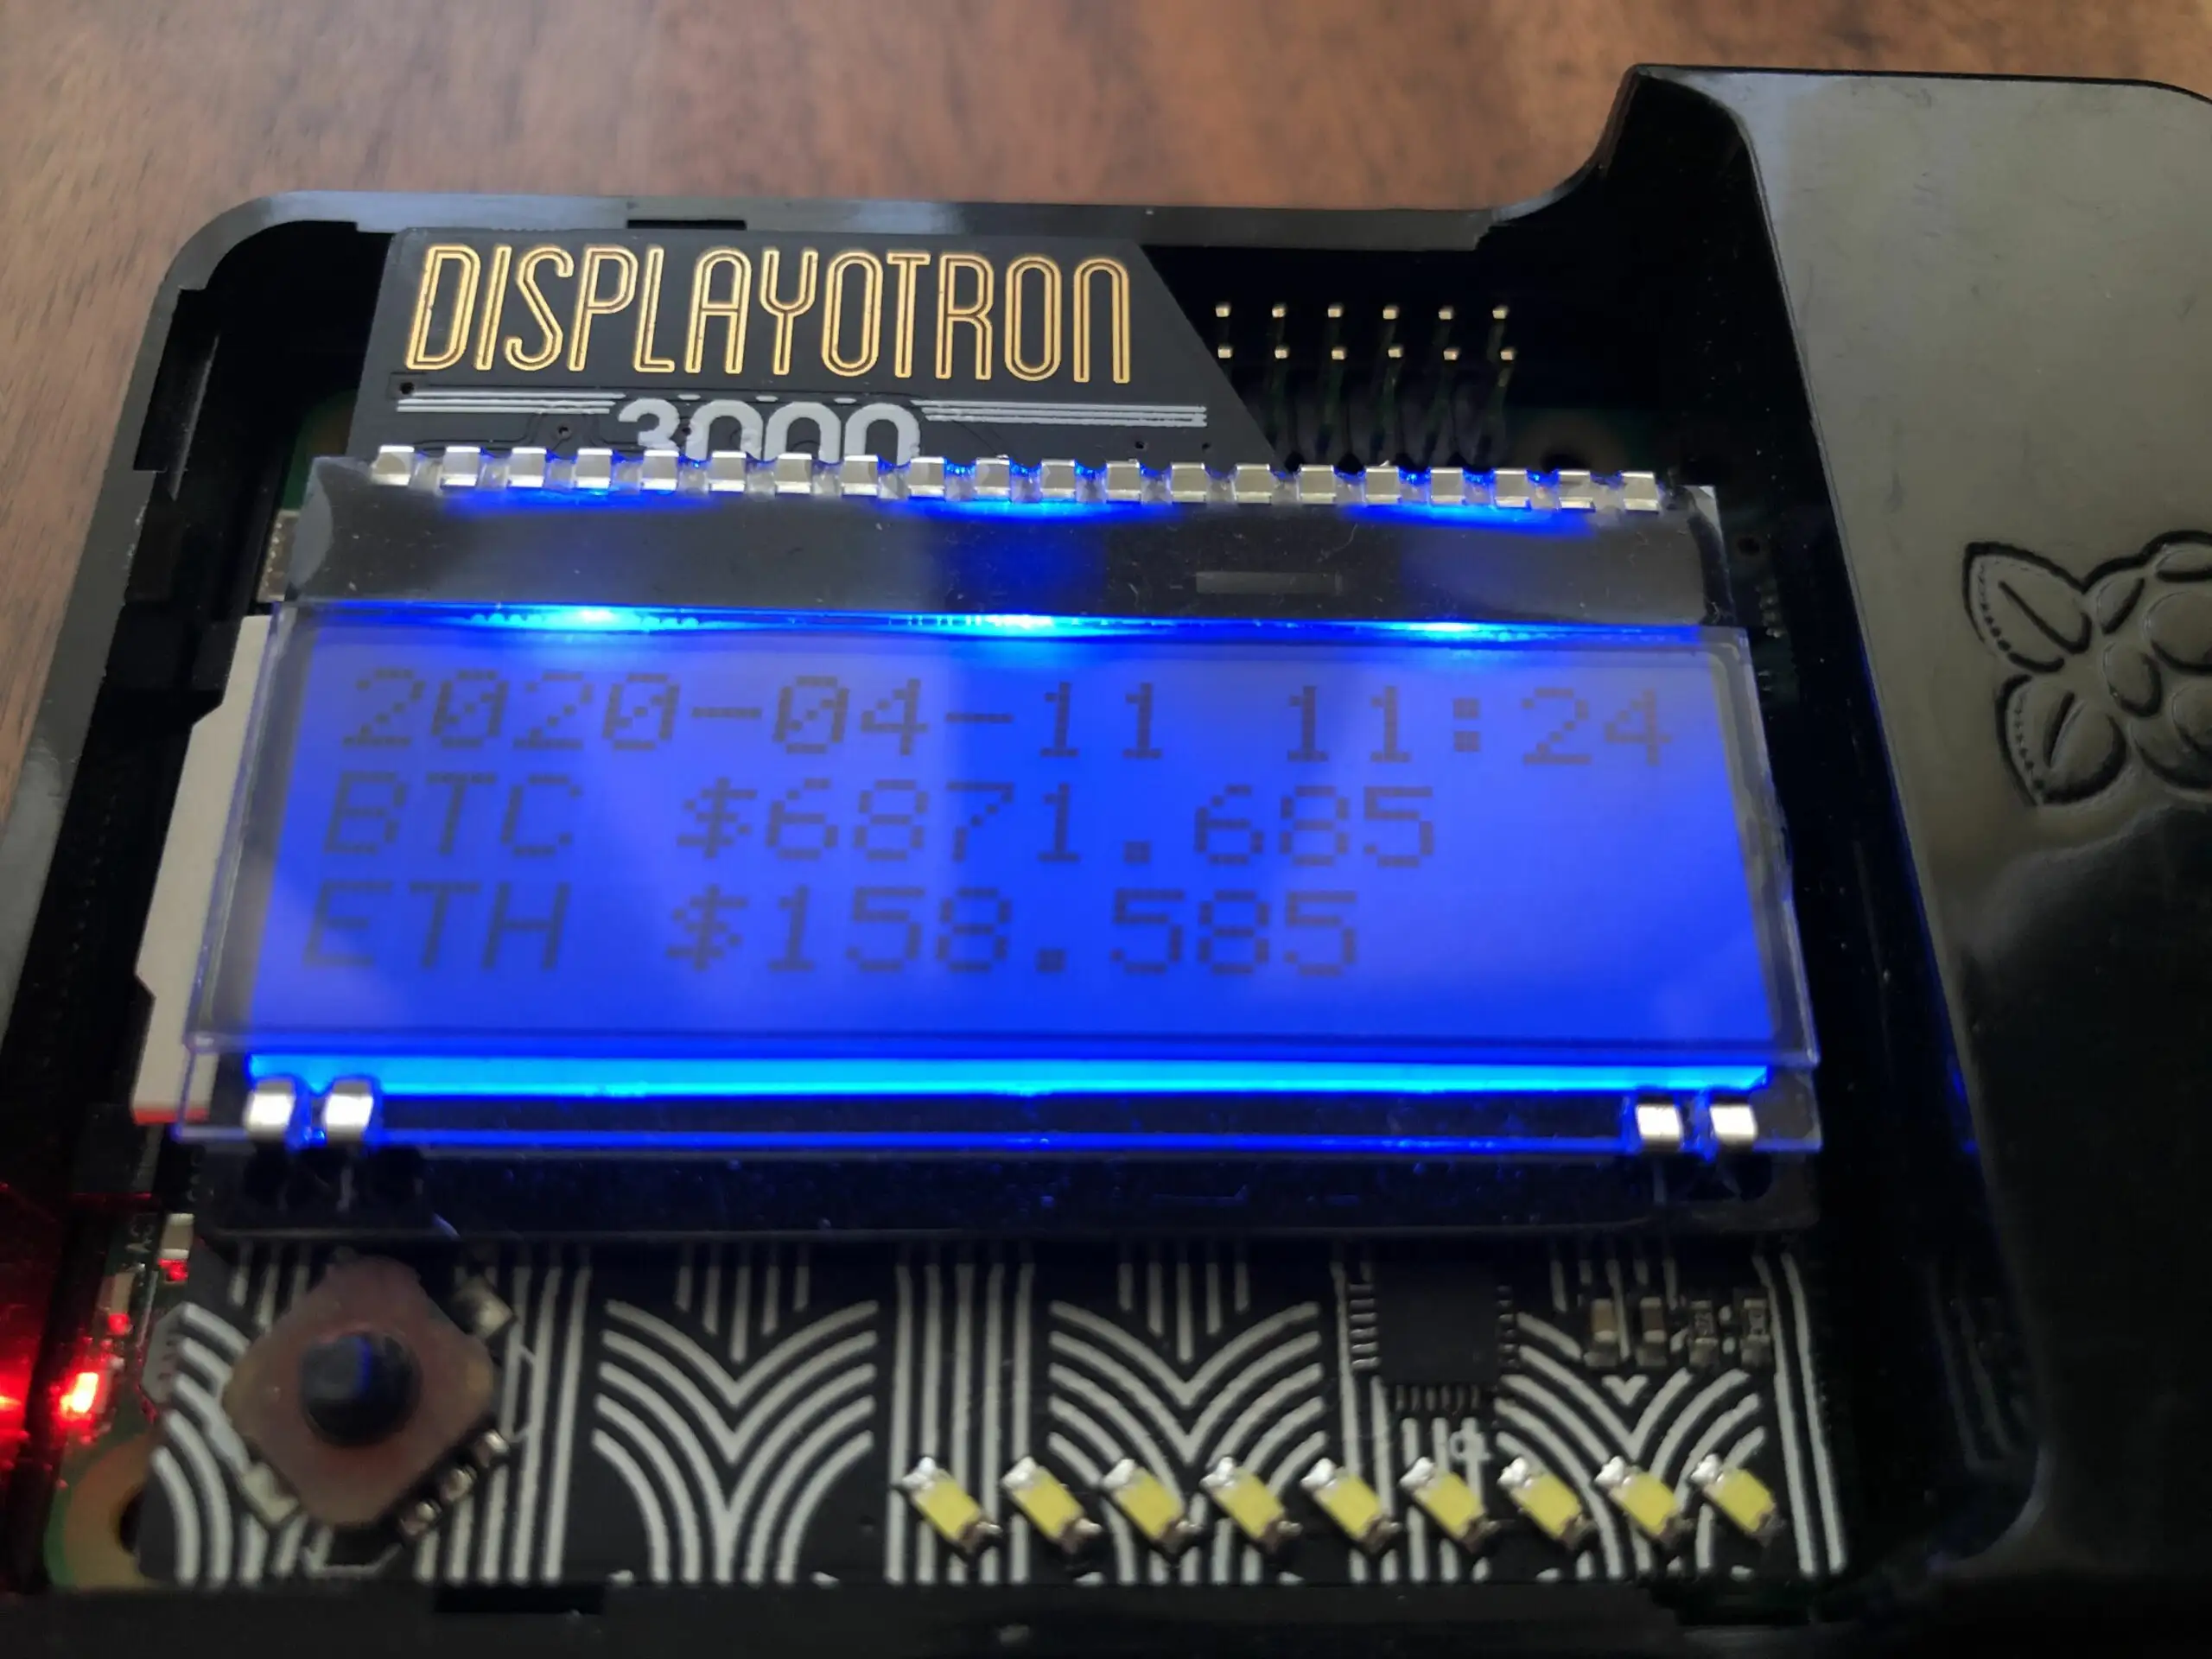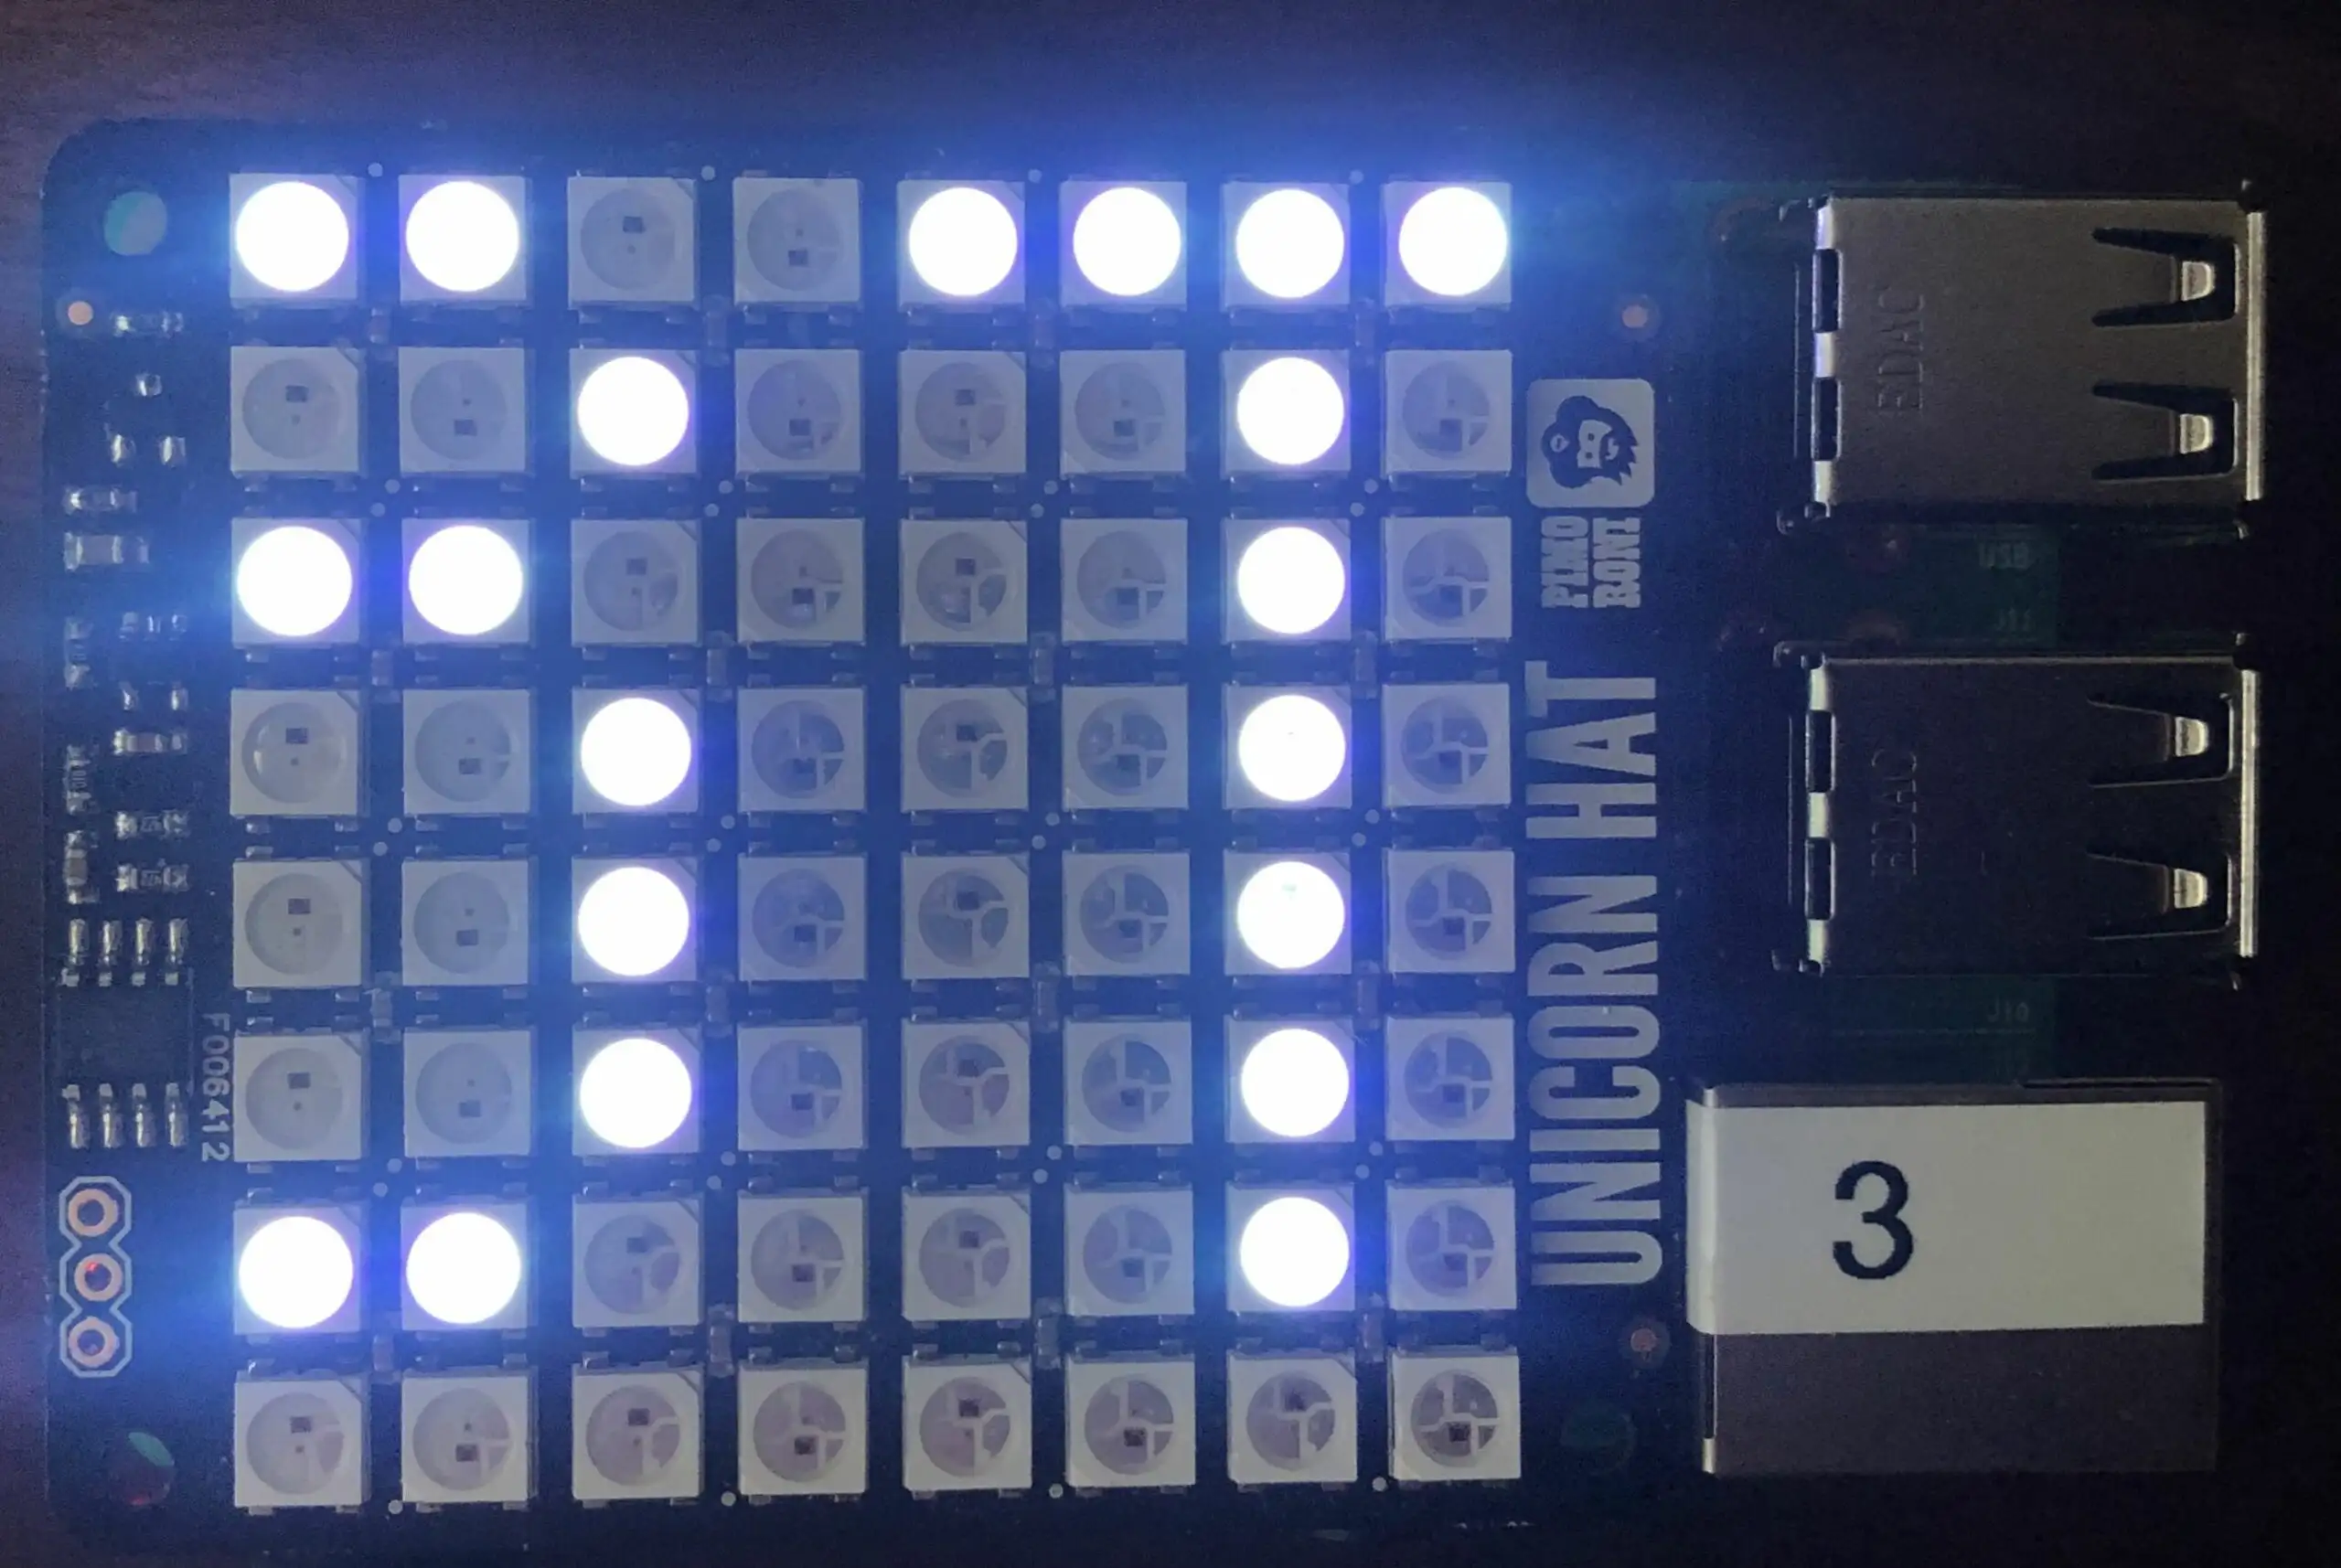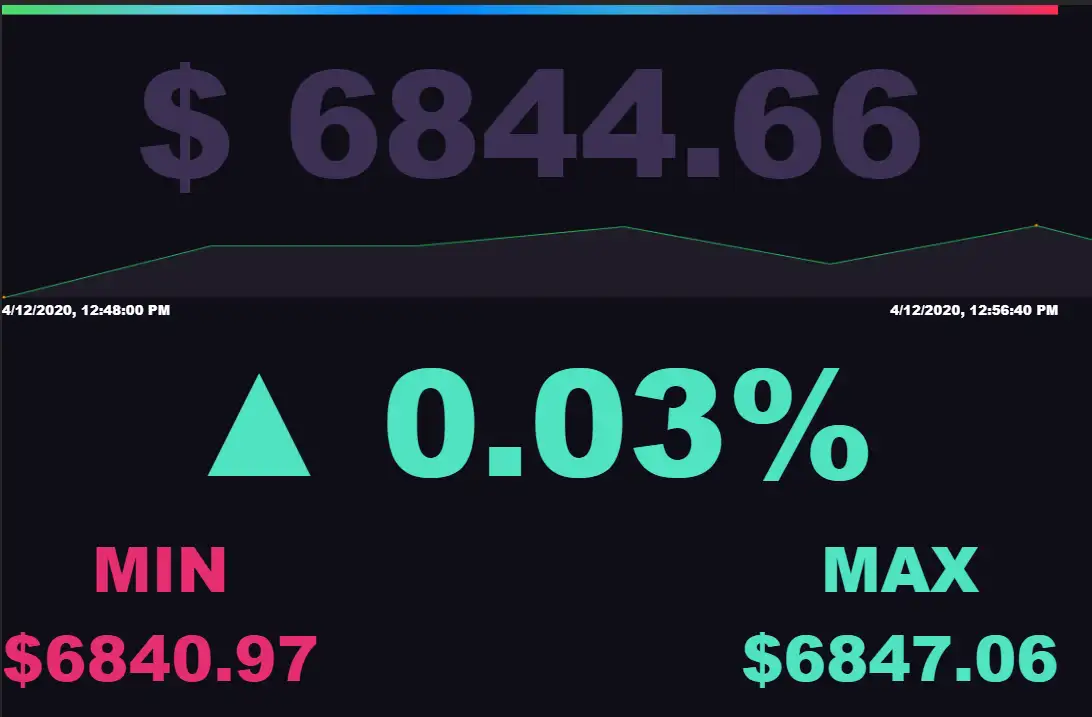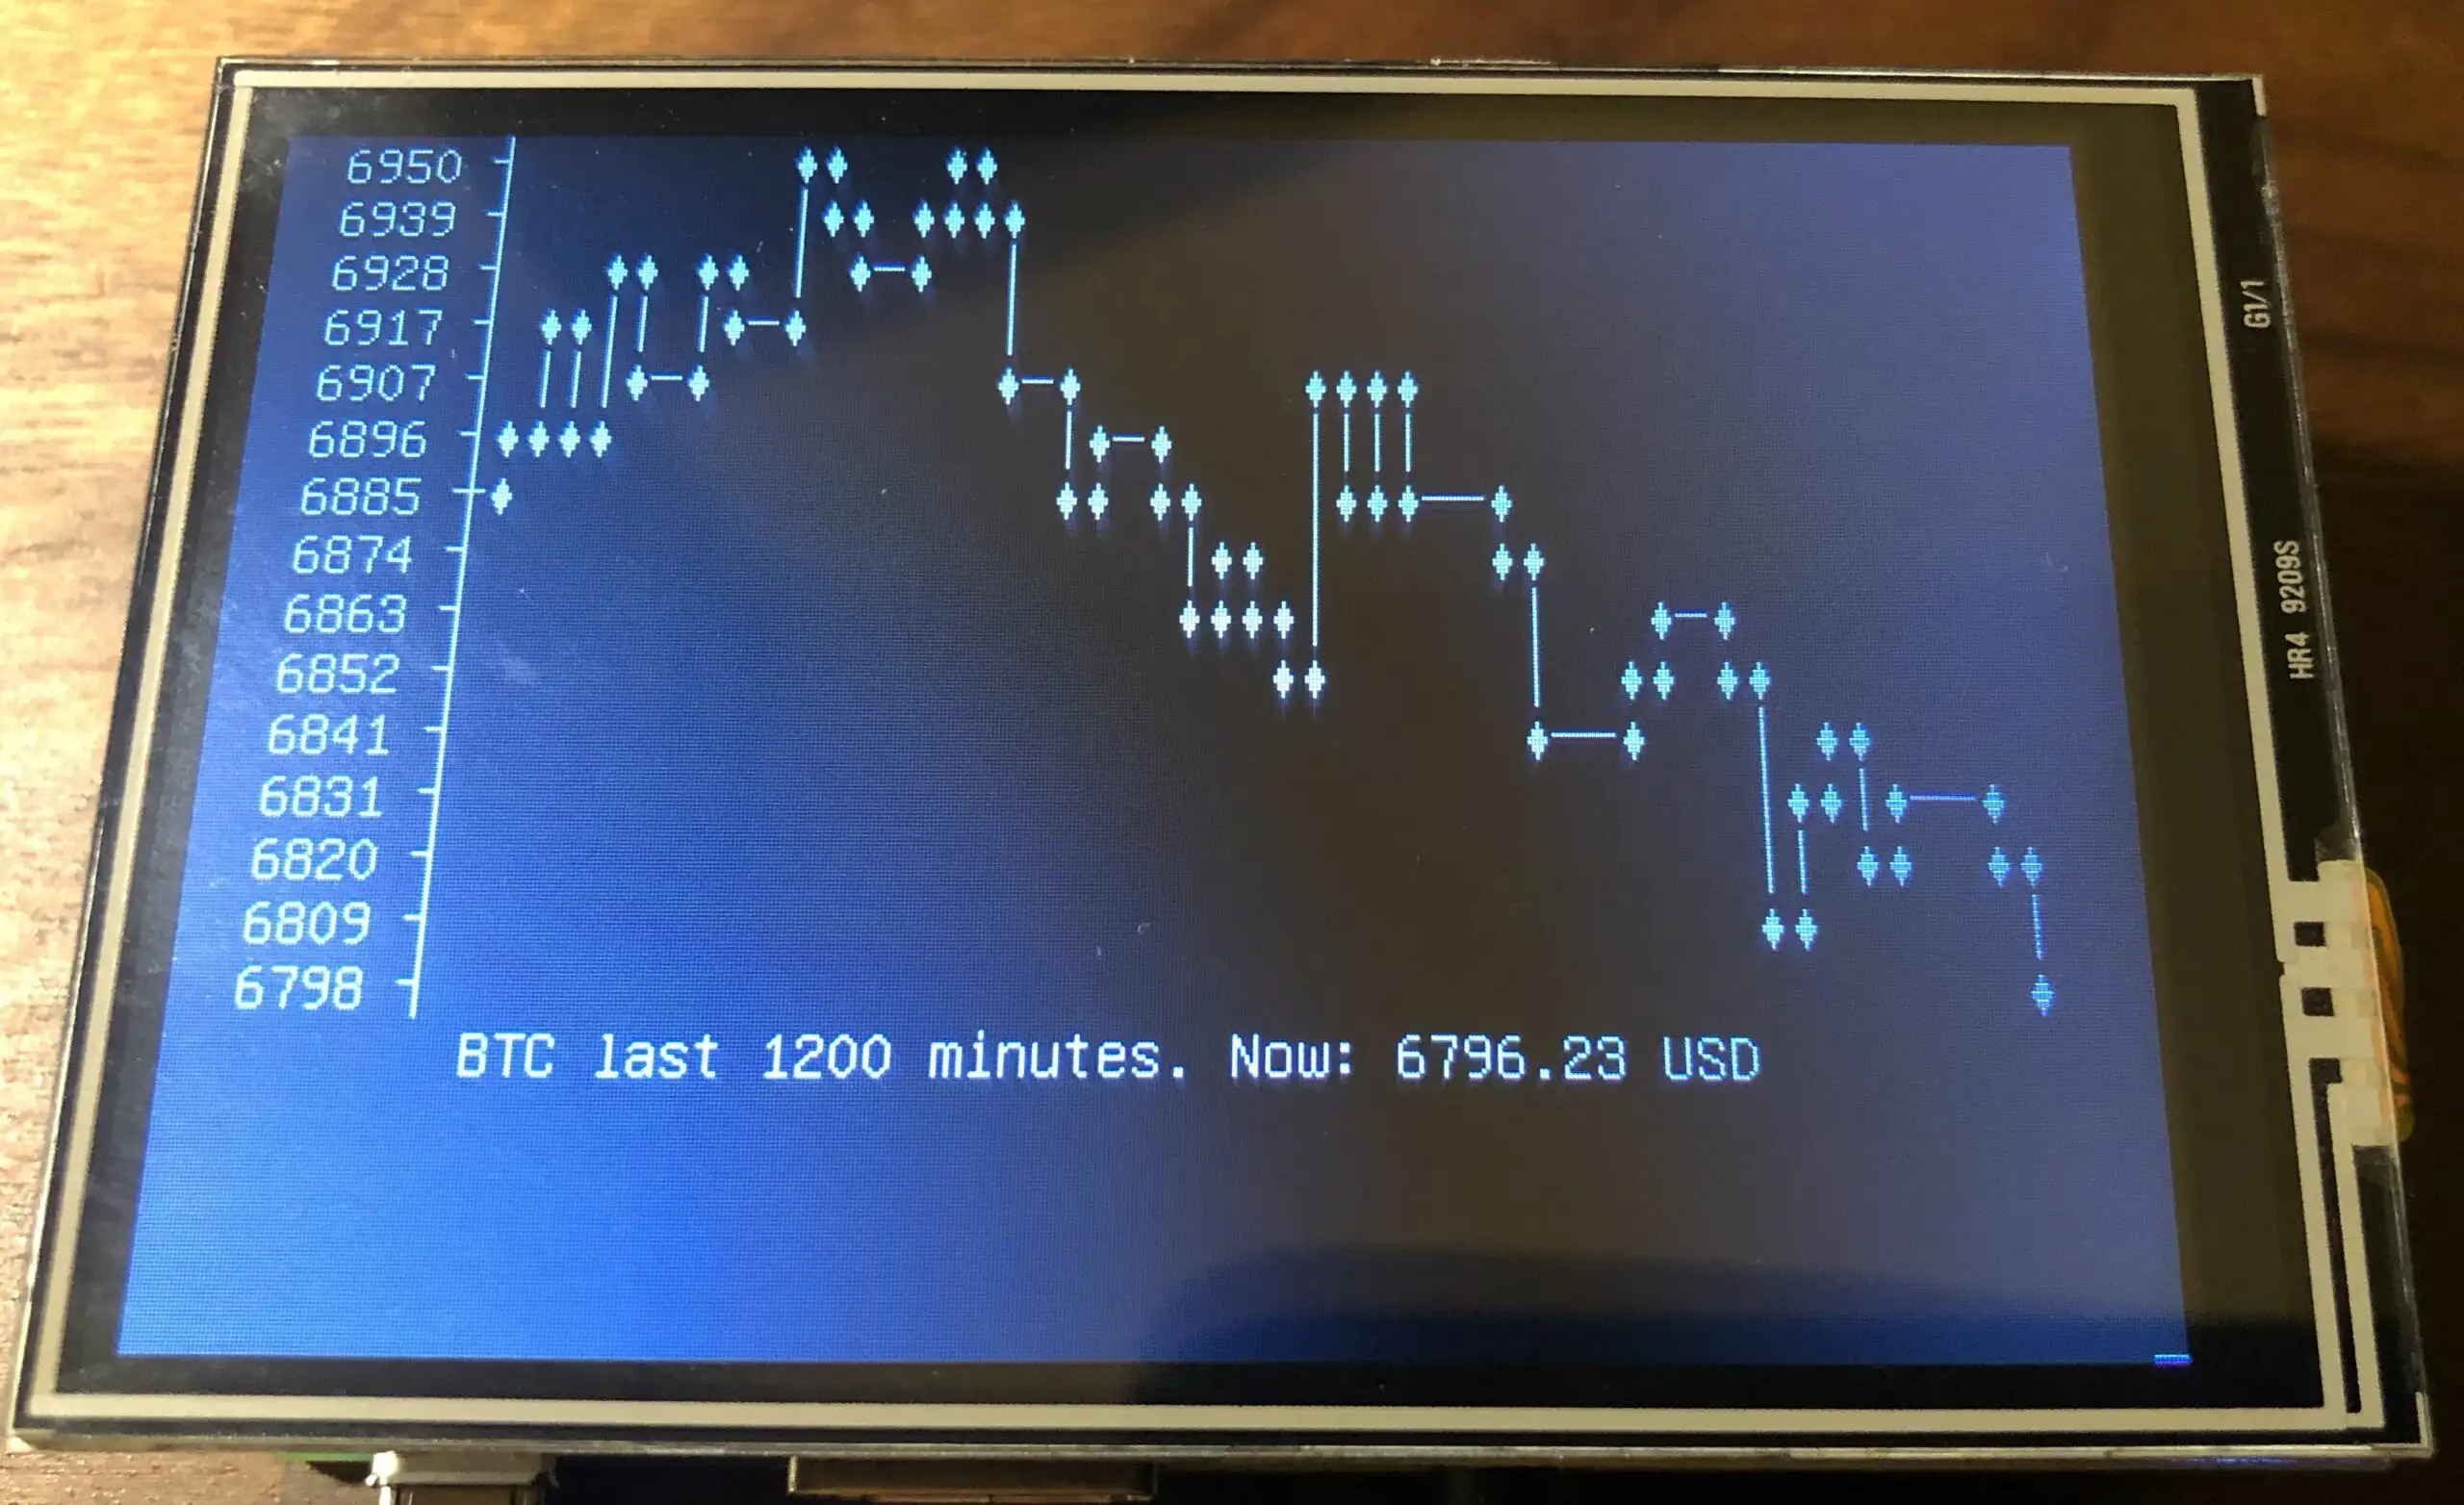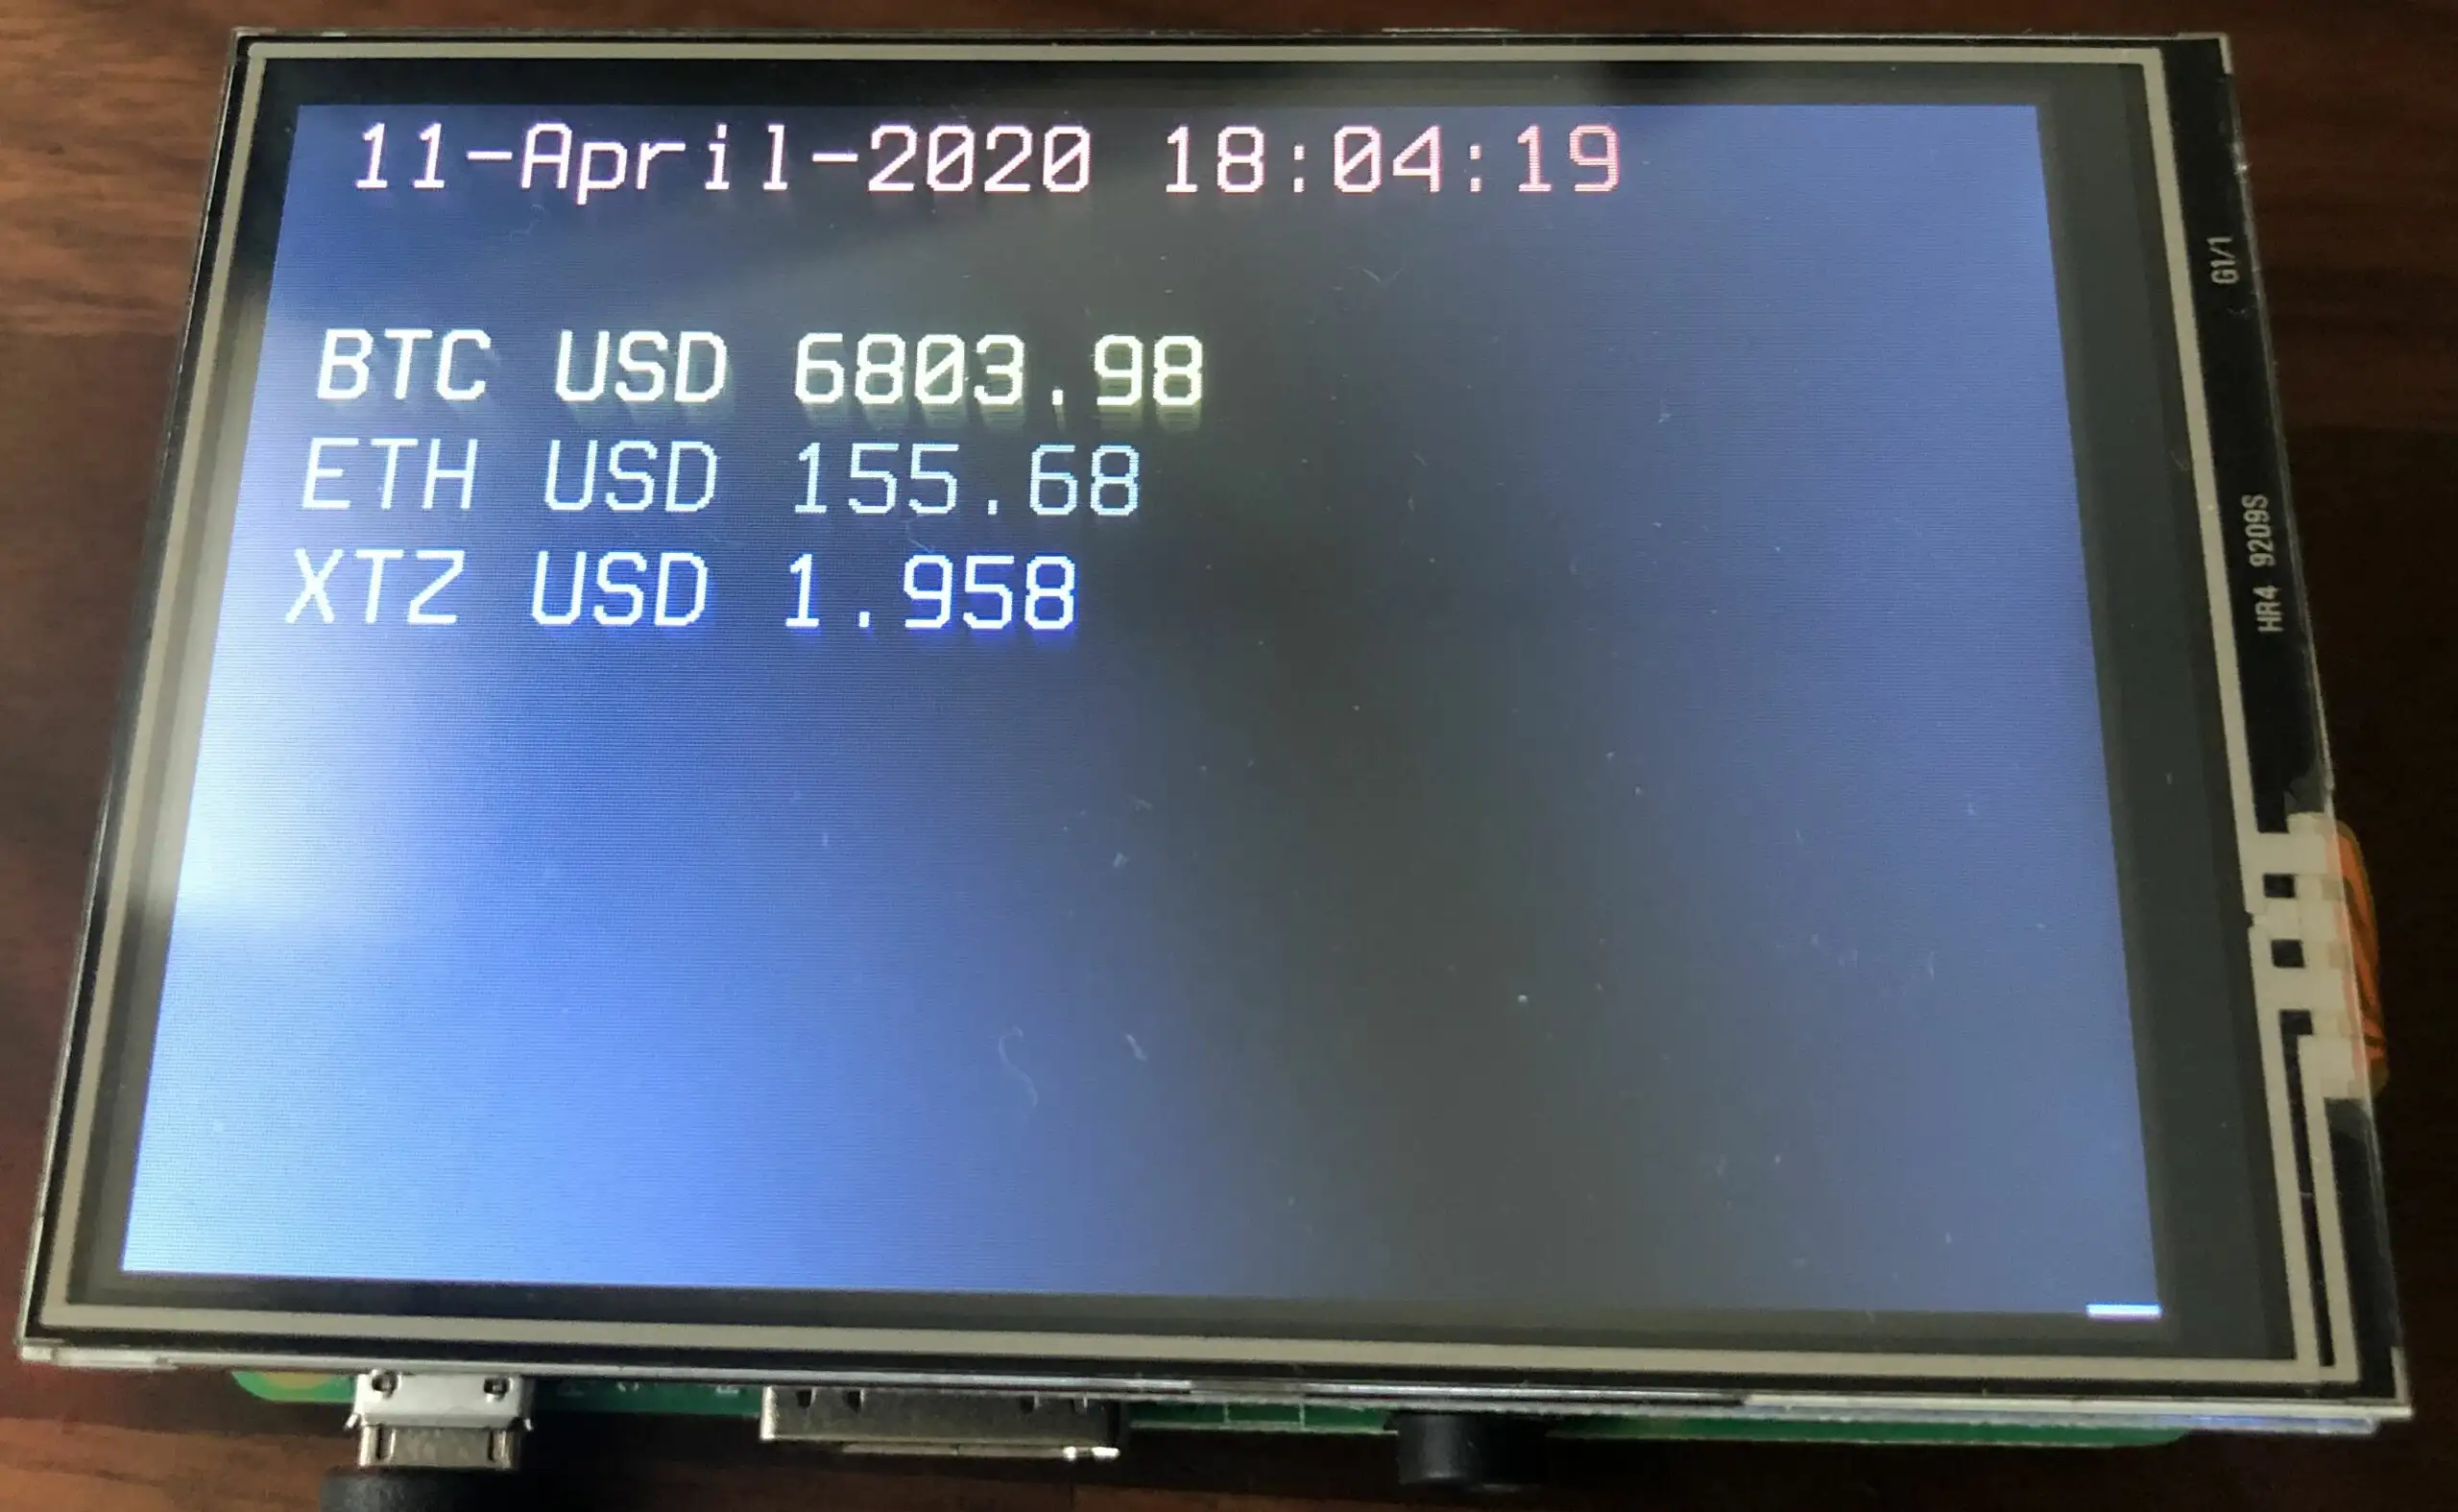
How to monitor your favorite cryptocurrencies on a 3.5 inches LCD and any Raspberry PI!
The python script is easily extensible and let you add any cryptocurrency pair.
Shopping list
You need obviously a raspberry pi, ideally with WIFI build in if you don ’t like cables
- Raspberry pi 1, single core, will require an Ethernet cable
- Raspberry pi 2 , dual core, will require an Ethernet cable
- Raspberry pi 3 or 4, a bit a shame to use this amount of power for that task, but has built in WIFI
Raspberry Pi LCD Display Module 3.5inch 320X480 TFT
Raspberry Pi LCD Display Module 3.5inch 320X480 TFT
Installing the Software
Your SD-card needs to contain the software. You can take the long road by building the SD-card image yourself or use the already prepared SD-Card image:
Download SD-Card image – Version 1.0:
https://drive.google.com/file/d/1qFodWIKsfOt-g4_U3Z5dOp7sQwDX7CxI/view?usp=sharing (2.3 GB)
SHA-256: 684e30bddc5106a91a8ef0353073ec663cd82379d1d6bdf1cf823ef51f02a282
Write the SD-Card image to your SD Card
You need to write the downloaded SD card image (the img.gz-file) to your SD card (16 GB minimum) – you can use the very easy tool Balena Etcher for this: https://www.balena.io/etcher/ .. it ’s available for Win, Mac & Linux.
Insert the SD card and connect the power plug.
- Make sure to connect the raspberry with a LAN cable to the internet at this point.
- Make sure that your laptop and the raspberry are on the same local network.
Building the SD Card
Raspbian is THE official operating system for all models of the Raspberry Pi.
Raspbian is a Debian-based (32 bit) computer operating system for Raspberry Pi. There are several versions of Raspbian including Raspbian Buster and Raspbian Stretch. Since 2015 it has been officially provided by the Raspberry Pi Foundation as the primary operating system for the family of Raspberry Pi single-board computers.
We now use the Raspberry Pi Imager for an easy way to install Raspbian and other operating systems to an SD card ready to use with your Raspberry Pi:
Choose Raspbian other, then lite. When finished boot the image and connect the pi to WIFI
sudo raspi-config
- Under localization options, set the proper keyboard layout
- Under network, connect to your WIFI
- Under interfaces, activate SSH
install drivers
# based on
# https://www.elegoo.com/tutorial/Elegoo%203.5%20inch%20Touch%20Screen%20User%20Manual%20V1.00.2017.10.09.zip
# revert font change
# based on https://www.raspberrypi-spy.co.uk/2014/04/how-to-change-the-command-line-font-size/
sudo sed -i 's/FONTFACE="TerminusBold"/FONTFACE="Fixed"/' /etc/default/console-setup
sudo sed -i 's/FONTSIZE="12x24"/FONTSIZE="8x16"/' /etc/default/console-setup

sudo apt update
sudo apt install git python-pip
pip install coinbase

# install LCD driver
rm -r LCD-show
git clone https://github.com/goodtft/LCD-show.git
sudo chmod -R 755 LCD-show
cd LCD-show/
sudo apt-mark hold raspberrypi-bootloader
sudo ./LCD35-show  # PI will reboot now automatically
Add the python script
vi /home/pi/bitcoinLCD.py
#!/usr/bin/env python
### USER PI AUTOSTART (LCD Display)
# this script gets started by the autologin of the pi user and
# and its output is gets displayed on the LCD

api_key = 'REPLACE'
api_secret = 'REPLACE'
currency_code = 'USD'

color_red='\033[1;31;40m'
color_green='\033[1;32;40m'
color_yellow='\033[1;33;40m'
color_dark_gray='\033[1;30;40m'
color_purple='\033[1;35;40m'
color_blue='\033[1;34;40m'
color_cyan='\033[1;36;40m'

# don't change below that line
# ----------------------------------------------------------
from coinbase.wallet.client import Client
client = Client(api_key, api_secret)
client.get_exchange_rates()

# clear LCD
from os import system
system('clear')

import datetime
d = datetime.datetime.today()
dateTimeNow = d.strftime("%d-%B-%Y %H:%M:%S")
print '%s %s' % (color_red, '{}'.format(dateTimeNow))

bitcoinPrice = client.get_spot_price(currency=currency_code)
print '%s BTC %s %s' % (color_green, currency_code, bitcoinPrice.amount)

ethereumPrice = client.get_spot_price(currency_pair= 'ETH-USD')
print '%s ETH %s %s' % (color_dark_gray, currency_code, ethereumPrice.amount)

ethereumPrice = client.get_spot_price(currency_pair= 'XTZ-USD')
print '%s XTZ %s %s' % (color_purple, currency_code, ethereumPrice.amount)
Increase font size
sudo dpkg-reconfigure console-setup
select the UTF-8 option and hit ↩
- select the
Guess optimal character setoption and hit ↩ - select
Let the system select a suitable fontoption and hit ↩ - Select the size font you prefer and hit ↩ I recommend 16×32
Run the script after autologin
add to your .bashrc
vi .bashrc
# add at the end of file
watch -n60 -t -c /home/pi/bitcoinLCD.py
Set the PI to autologin
# set Raspi to boot up automatically with user pi (for the LCD)
# https://www.raspberrypi.org/forums/viewtopic.php?t=21632
sudo raspi-config nonint do_boot_behaviour B2
sudo bash -c "echo '[Service]' >> /etc/systemd/system/[email protected]/autologin.conf"
sudo bash -c "echo 'ExecStart=' >> /etc/systemd/system/[email protected]/autologin.conf"
sudo bash -c "echo 'ExecStart=-/sbin/agetty --autologin pi --noclear %I 38400 linux' >> /etc/systemd/system/[email protected]/autologin.conf"
and reboot
bash sudo reboot

SSH login do not work anymore?
After that you can not log anymore with SSH to the PI user, to be able to login, add a USB keyboard and type
bash sudo raspi-config nonint do_boot_behaviour B1
Run again the following to enable auto-login
bash sudo raspi-config nonint do_boot_behaviour B2


