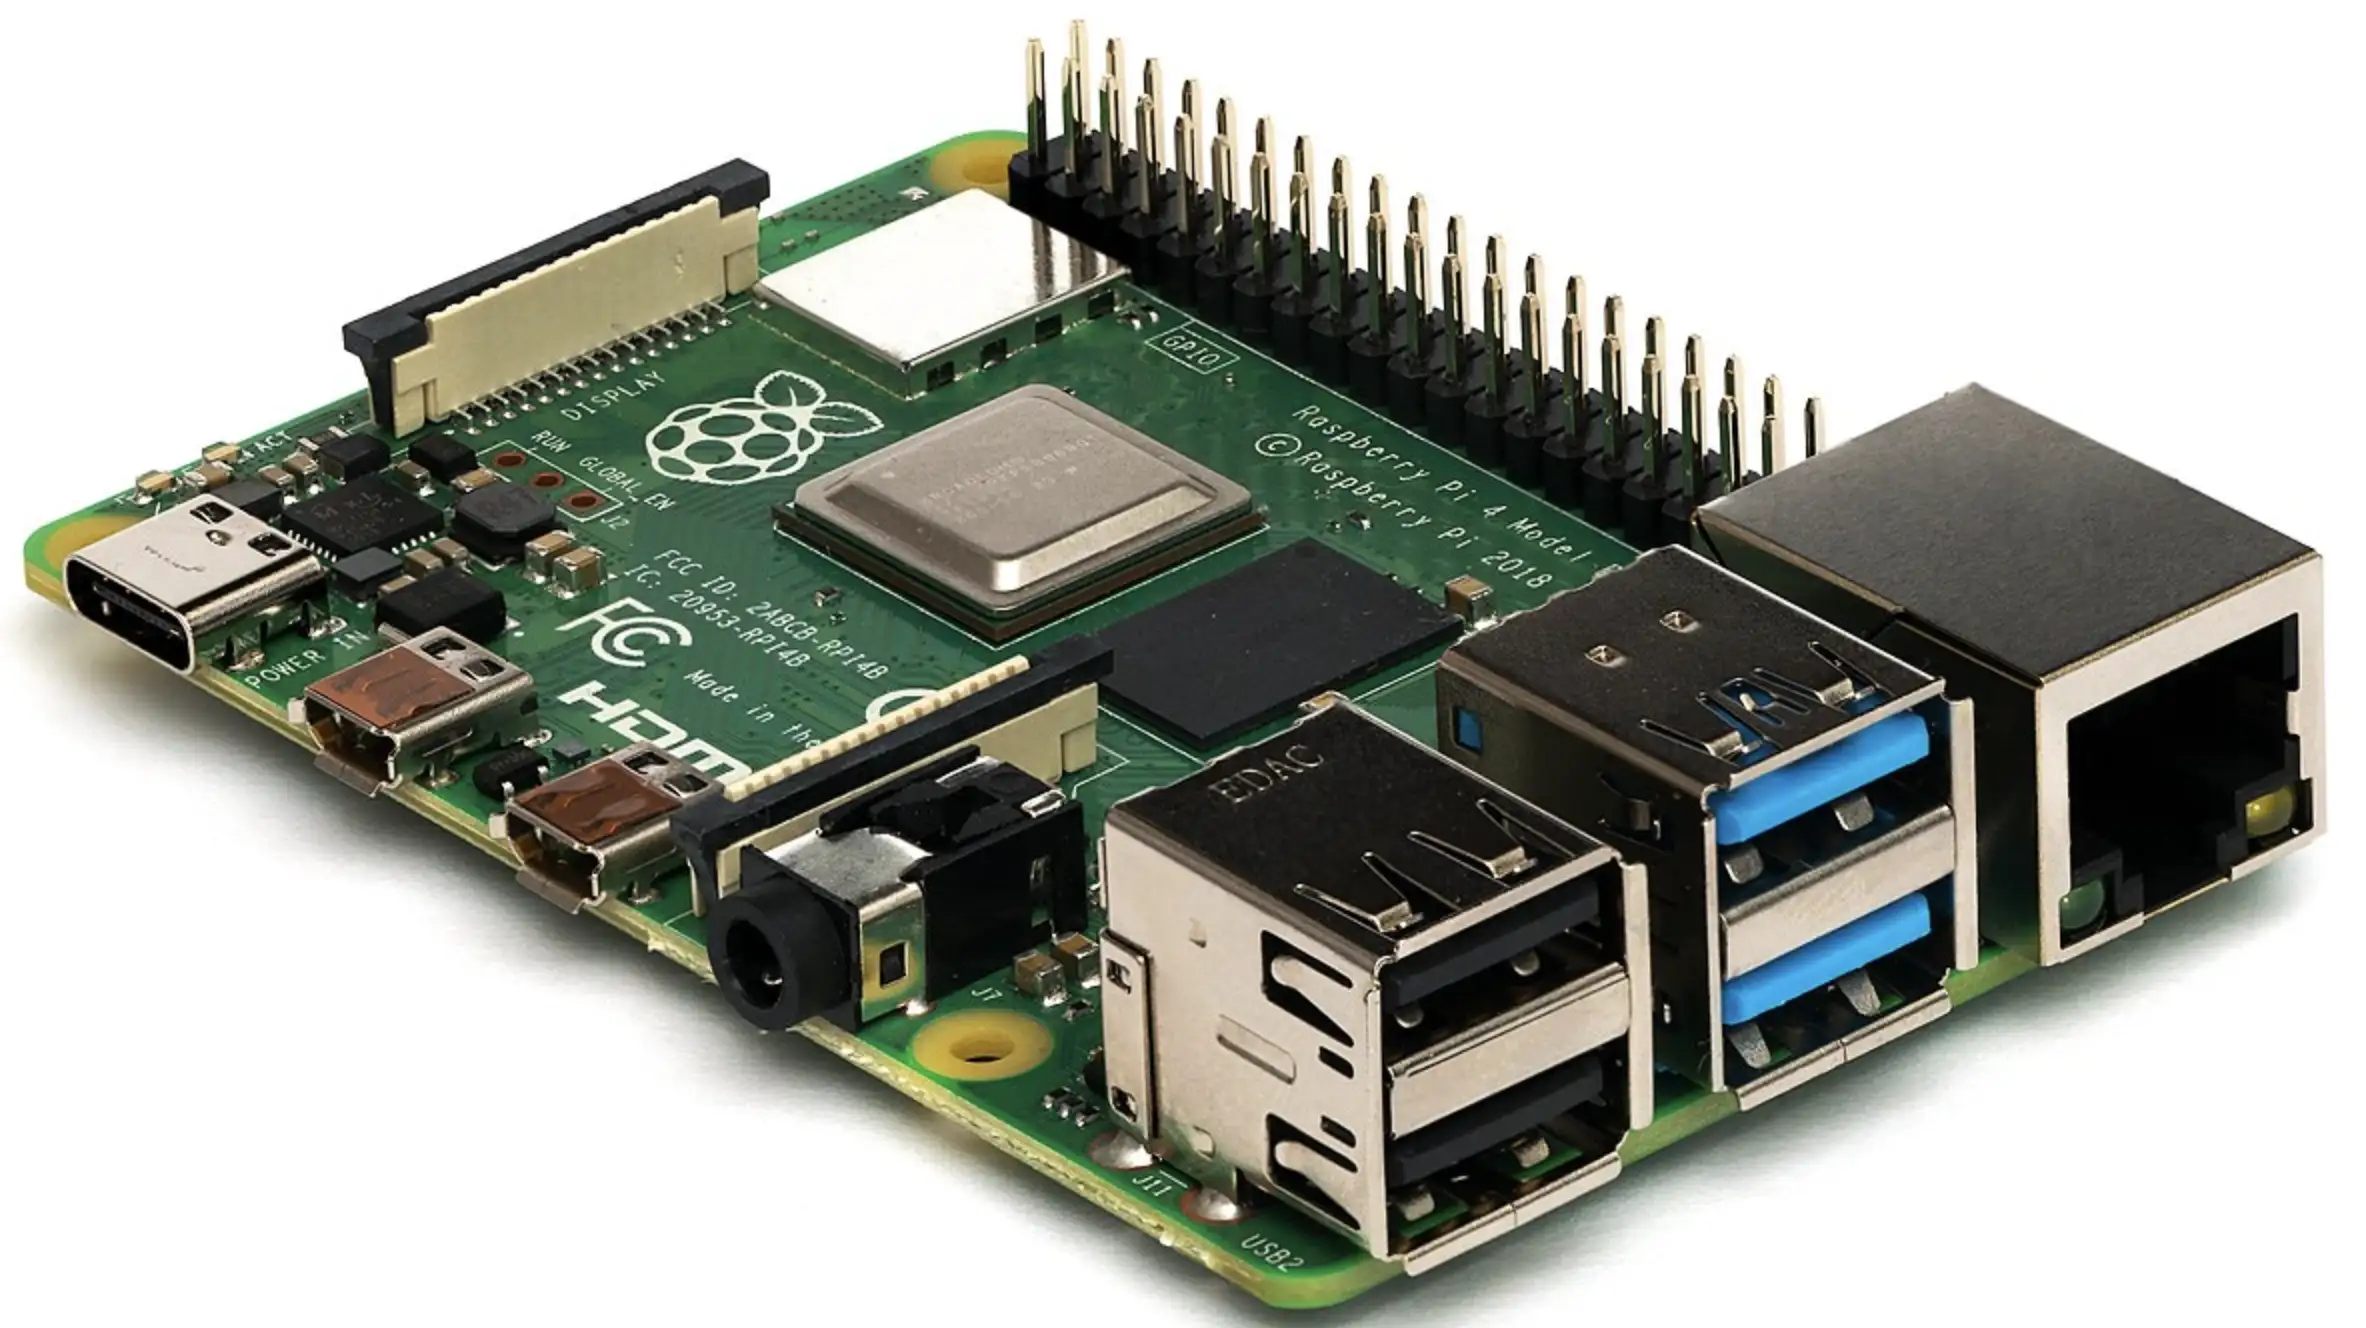
In the era of digital media consumption, having a centralized hub to manage and stream your media content has become increasingly important. Enter the Plex Media Server—an incredibly versatile platform that allows you to organize, access, and enjoy your movies, TV shows, music, and photos from any device, anywhere. And what ’s even better? You can set up your very own Plex Media Server using a Raspberry Pi 4, a budget-friendly and energy-efficient solution that ’s perfect for DIY enthusiasts. In this guide, we ’ll walk you through the steps to create your very own Plex server on a Raspberry Pi 4.
Requirements
Before diving into the setup process, let ’s make sure you have everything you need:
- Raspberry Pi 4 (2GB RAM model or higher)
- MicroSD card (16GB or more recommended) or better a USB3 external disk. We will install Raspbian, the operating system,
- Power supply for the Raspberry Pi
- External hard drive or storage device for media files
- Computer with internet access
Step 1: Setting Up the Raspberry Pi
- Insert the microSD card into your computer or connect the USB disk.
- Download the latest Raspberry Pi imager from the official website.
- Launch it and select raspbian 64 bits with desktop (not the liste version that does not auto mount USB disks)
- Insert the microSD card into the Raspberry Pi, connect it to a display, keyboard, and mouse, and power it up.
Step 2: Initial Setup
- Follow the on-screen instructions to complete the initial setup, including connecting to Wi-Fi and updating the system:sqlCopy code
sudo apt update && sudo apt upgrade
Step 3: Installing Plex Media Server
- Open a terminal on the Raspberry Pi or connect to it via SSH.
- Add the Plex repository and its GPG key:bashCopy code
curl https://downloads.plex.tv/plex-keys/PlexSign.key | sudo apt-key add - echo deb https://downloads.plex.tv/repo/deb public main | sudo tee/etc/apt/sources.list.d/plexmediaserver.list - Update your package list and install Plex:sqlCopy code
sudo apt update sudo apt install plexmediaserver
Step 4: Configuring Plex
- Open a web browser on a device connected to the same network and access
http://<your_pi_ip>:32400/web. - Sign in or create a Plex account.
- Add your media libraries by clicking “Add Library” and selecting content types.
- Point Plex to the folders where your media files are stored.
Step 5: Optimizing for Raspberry Pi
- Consider converting media files to formats that work well with Plex and Raspberry Pi using tools like HandBrake.
- Enable “Direct Play” and “Direct Stream” in Plex settings to reduce the need for transcoding.
Step 6: External Storage
- If using an external storage device, ensure it ’s connected and mounted on the Raspberry Pi.
- Configure Plex to monitor specific folders on the external storage for new content.
Step 7: Accessing Plex
- Download the Plex app on your preferred devices.
- Sign in with your Plex account to access your media library.
Final notes
Congratulations! You ’ve successfully transformed your Raspberry Pi 4 into a powerful Plex Media Server, allowing you to enjoy your media collection from anywhere. While the Raspberry Pi 4 might have its limitations in terms of processing power, it ’s a fantastic solution for personal use and smaller-scale streaming needs. Keep in mind that software and instructions may change, so it ’s a good idea to consult the official Plex and Raspberry Pi documentation for the latest information. With your new Plex server up and running, you ’re ready to embark on a seamless media streaming journey. Happy streaming!


